Hi All,
In this blog, we are going to talk about child cases in Pega.
In the last blog we have seen Case Management, and we created a new Case Type. If you haven’t checked that blog, I recommend you reading that first and you can continue with this blog later.
Child case is a Case type only and as the name suggest its the child entity of the Parent case.
So now the question comes, if we have Case Type, then why we need child cases.
While designing the Pega applications, case types, we need to think of the various scenarios like
- Case locking
- Security
- Reporting
- Complexity of requirements.
All these are different topics and we are going to have separate blogs for all of them later. So make sure you stay tuned for latest updates.
In this blog, I am going to create a child case Review. This child case will have its own review process and it will be completed by Insurance Claim reviewer. Apart from this, I’m adding one more child case here for the example and that is Verification. And it will be handled by a different team.
So here Reviewer & Verifier are two different type of people(Personas) working on the respective case type and once they provide the positive feedback, the Claim case will get approved.
So, here as well, before creating the case type, first we are going to create a new ruleset and will create the Review case type, just like we created Claim case type.
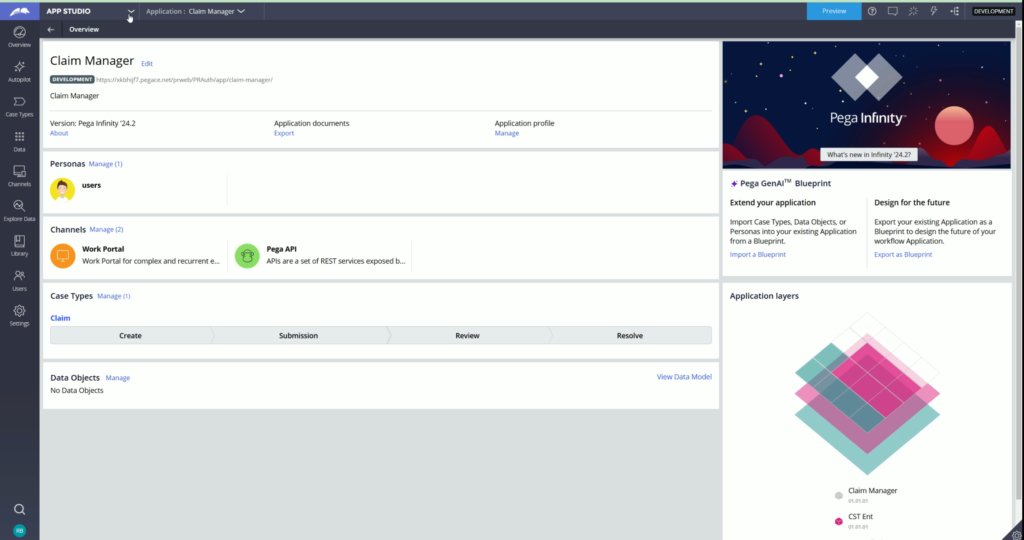
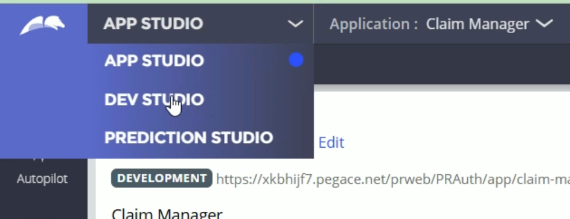
Lets switch to Dev studio to create a new ruleset.
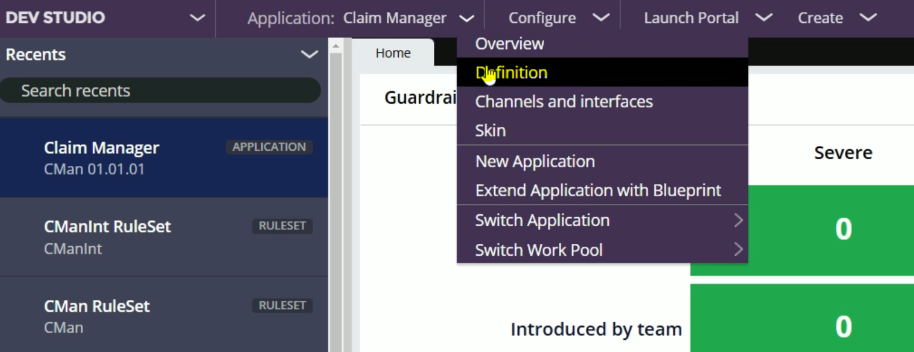
From Application menu, open the Application Definition
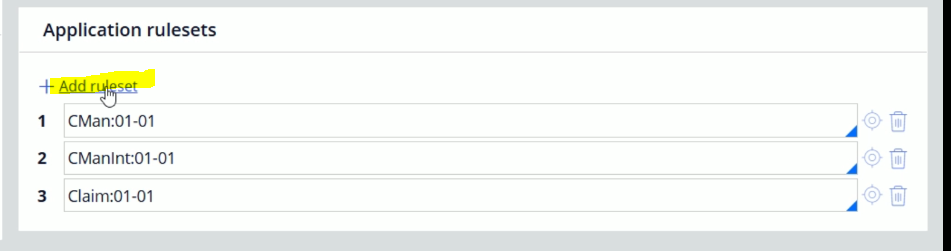
We are creating the ruleset for Review case type, then lets create a new ruleset with this name.
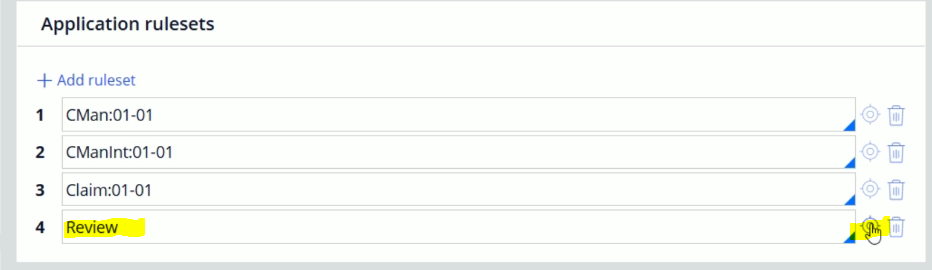
Click on +Add ruleset
Lets enter the name Review and click the icon to create this ruleset.
Click Create and open

And click Save.
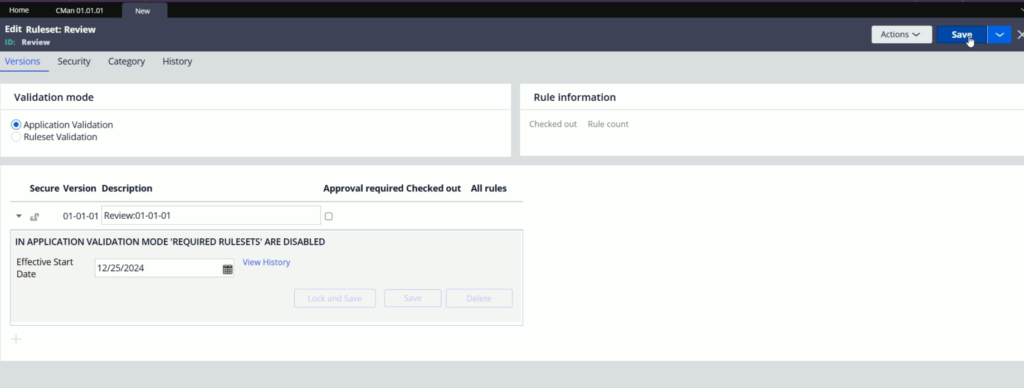
The ruleset has been created successfully.
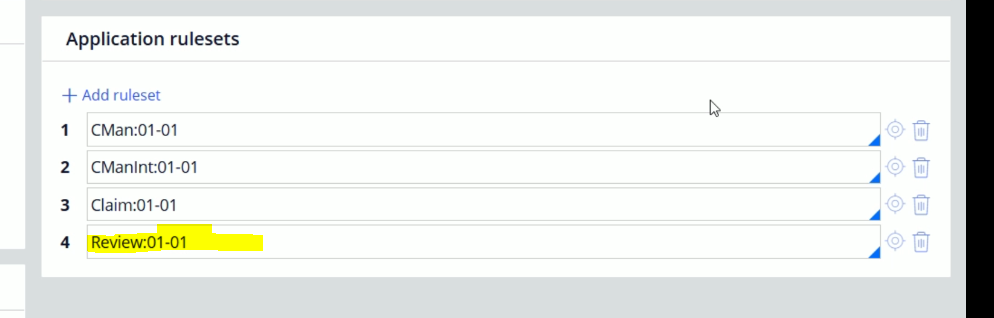
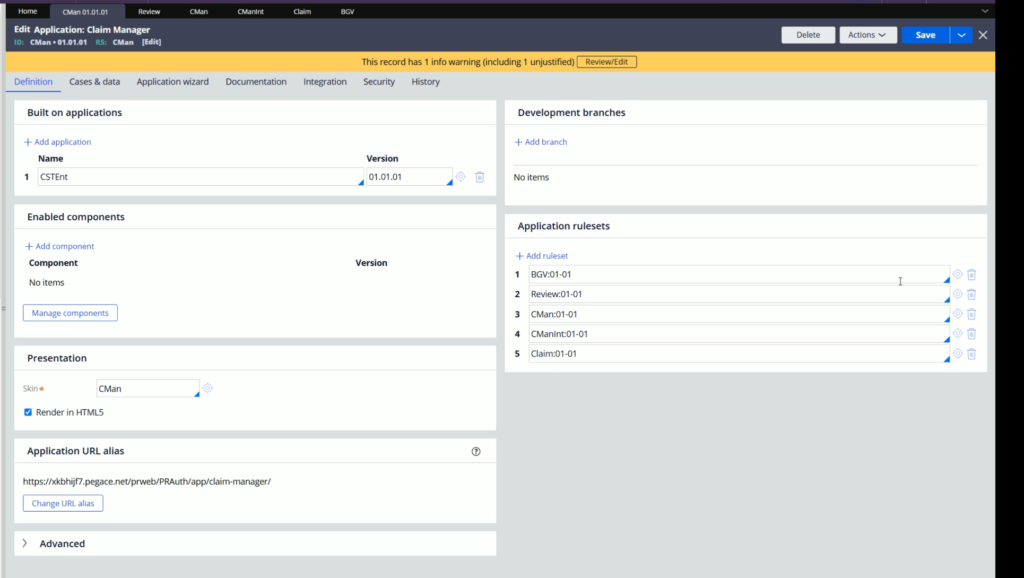
Now, go back to the Application Definition & enter the major & minor version after Review.
Review:01-01
Now, bring the Review ruleset to the top.
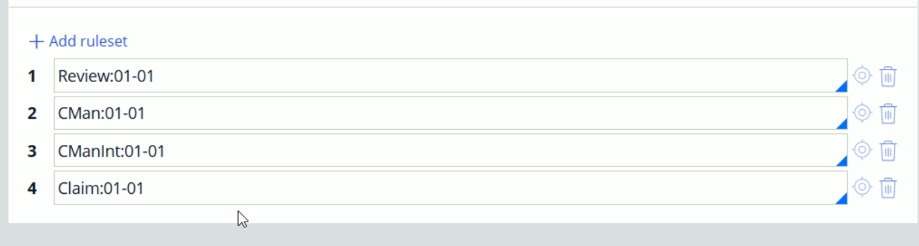
And Save the Application rule.
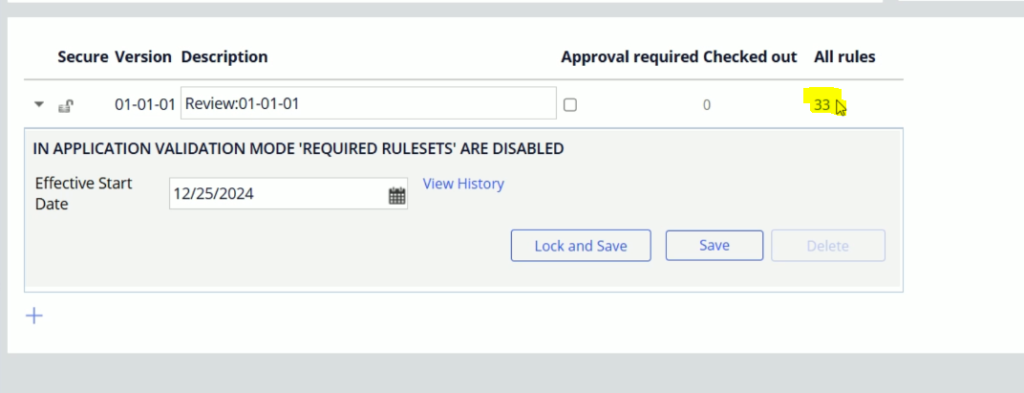
Now, open other rulesets, and lock all the RSVs just like we did in the previous blog.
Make sure, only Review ruleset has open RSV.
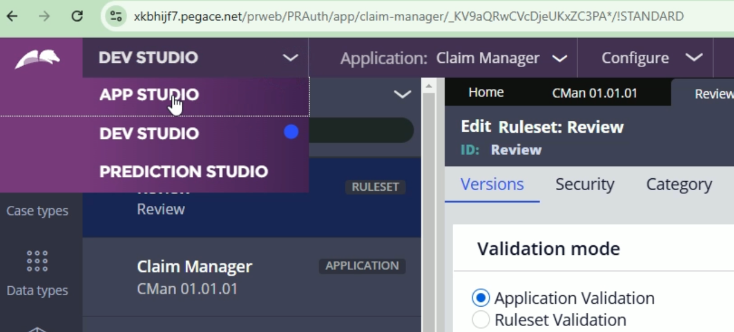
Now, switch back to App studio
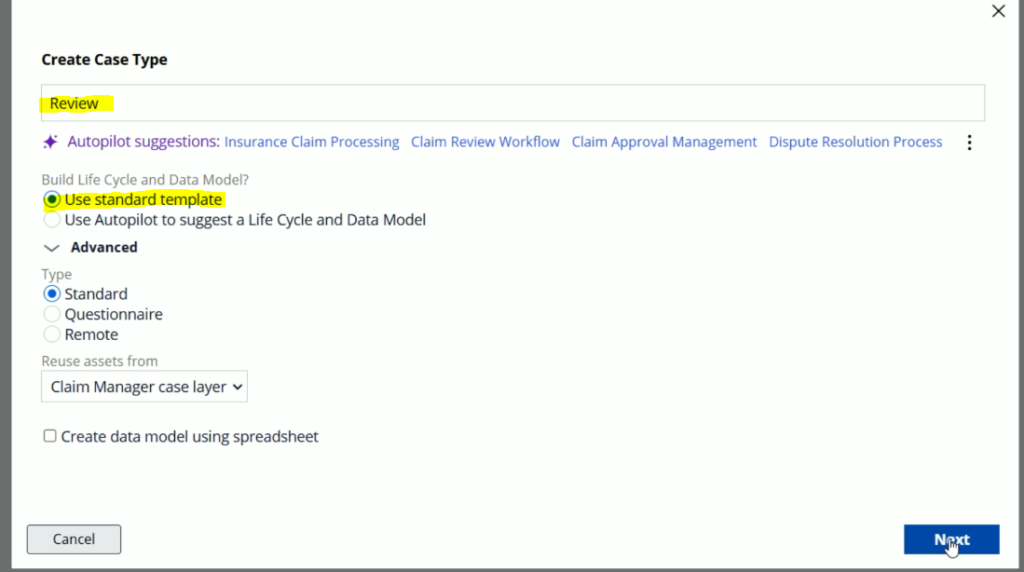
Go to Case types menu and click New

Here, enter the Case type name as Review
Select Use standard template & click Next
So, new case type has been created over here.
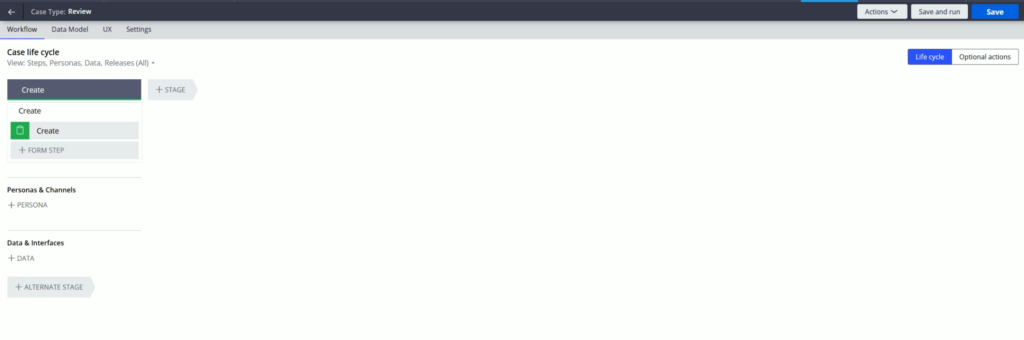
Lets configure stages & processes just like in previous blog like below
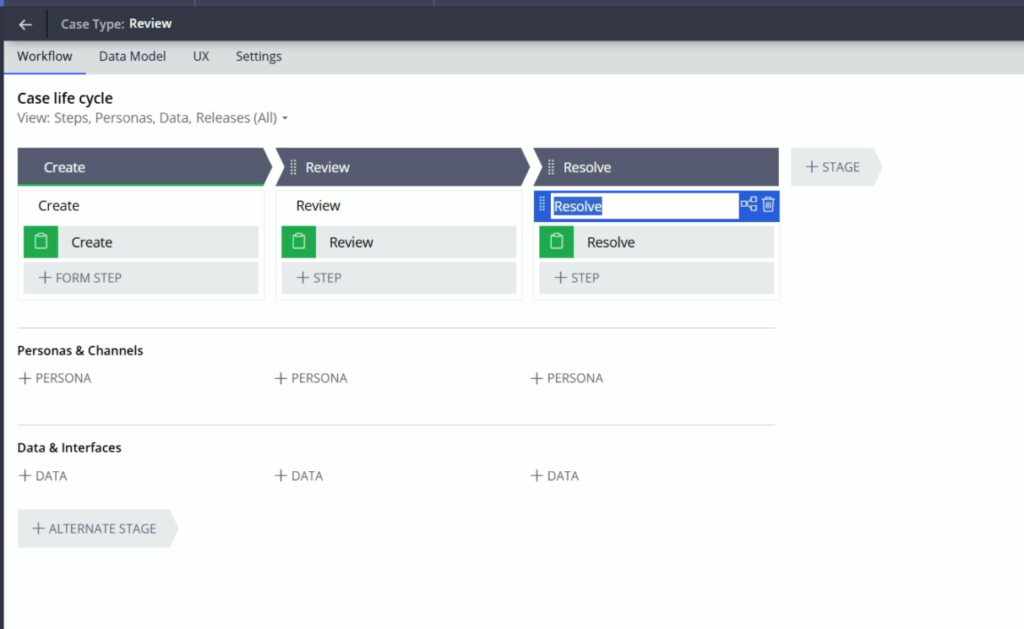
We will configure Alternate stages later.
For now, lets click Save.
Now, switch back to Dev Studio.
Open the Review ruleset. If its already open refresh it like below

And you will find newly created rules in this RSV
Now, just like this, we are going to create one more case type: Verification. Just like above follow the same steps
- Create a new ruleset BGV & bring it to the top of ruleset stack
- Lock all other RSVs except BGV
- Save Application definition
- Switch back to App Studio
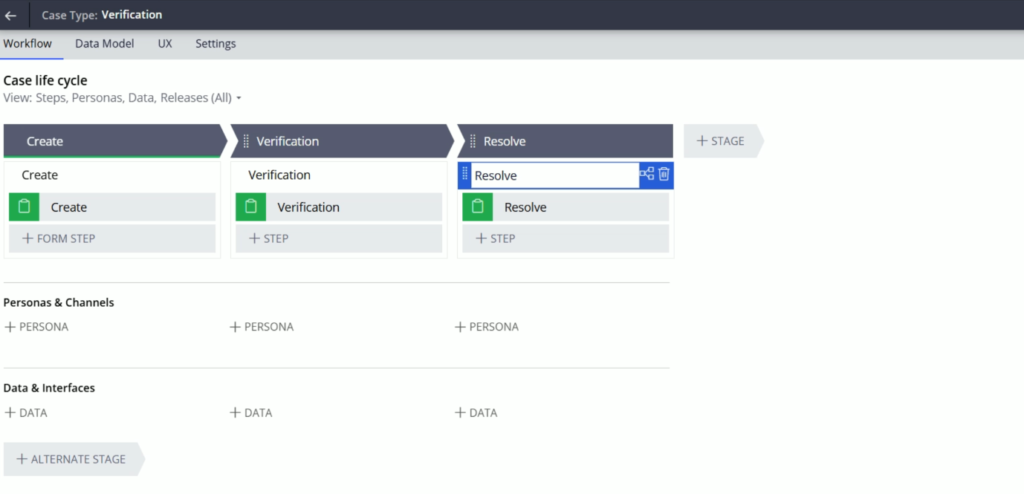
- Create a new Case type: Verification
- Configure the stages & processes like below & click Save
So, here we have successfully created two new case types.
Now, lets switch to Dev studio.
Lets open the Application definition rule if its not open.
Now, open all the RSVs and unlock them one by one.
Now, its time to re-sequence the rulesets like below
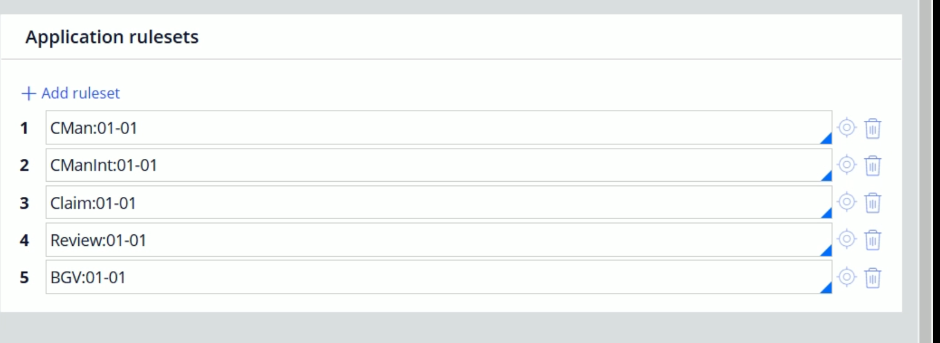
Click Save.
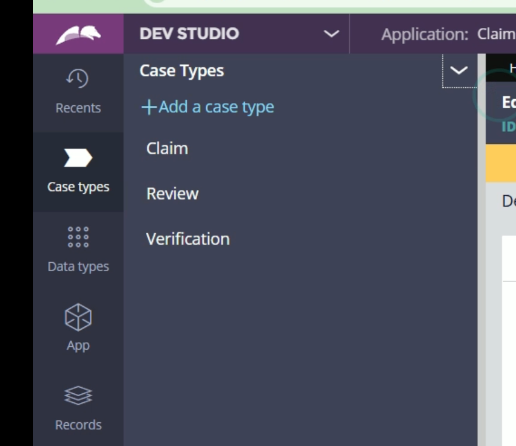
Now, from Left side menu, click Case types.
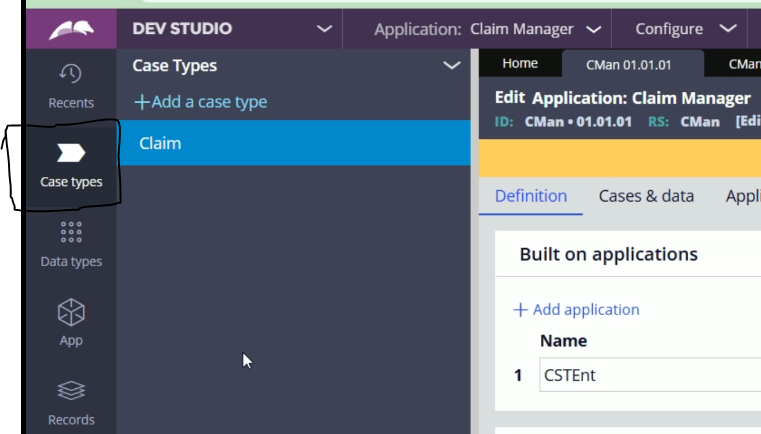
If you are not able to see the newly created case types here, go to “Cases & data” tab of the Application definition.
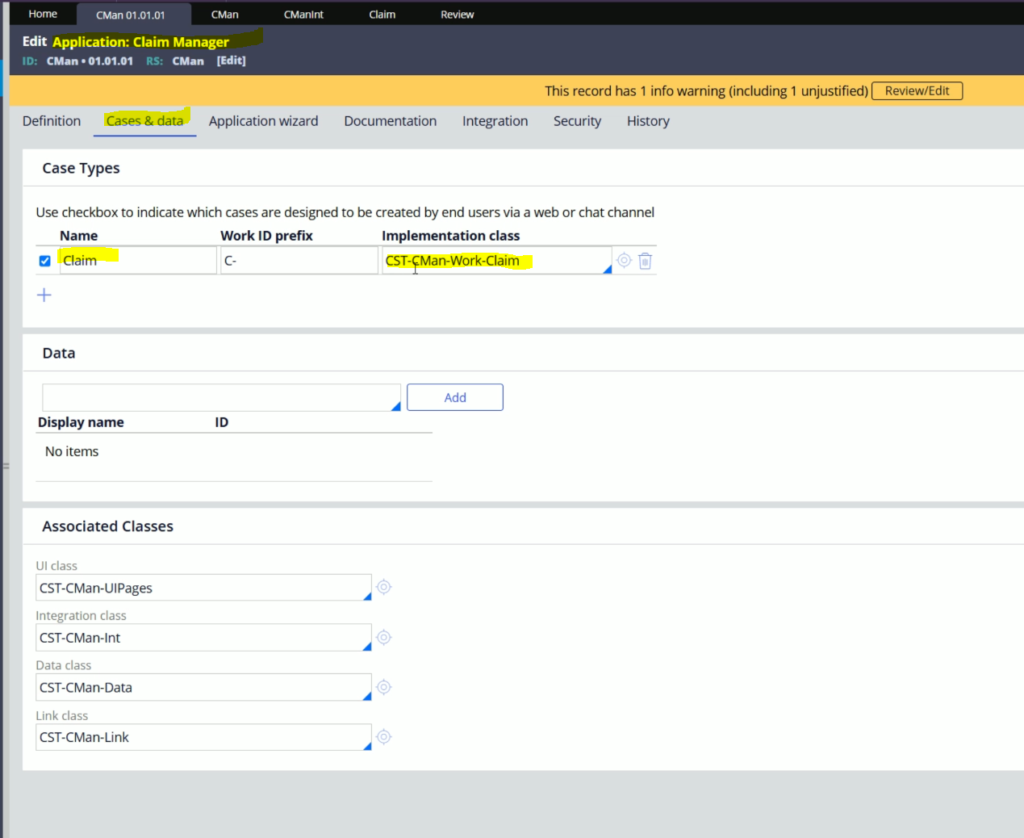
Here you will find, only Claim case is present here. We need to add those remaining two case types.
Click on + icon twice to add two new rows.

Here, mention the Name, prefix & class for the two newly added case types like below
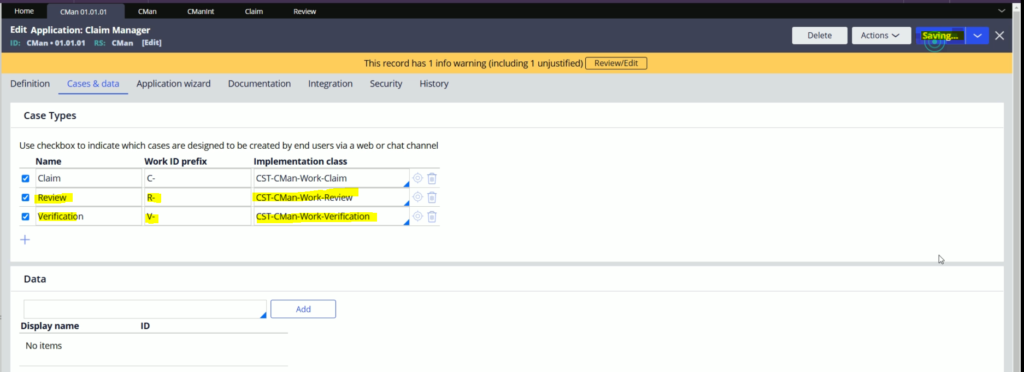
Click Save.
Now, from Case types menu, click Refresh case types.
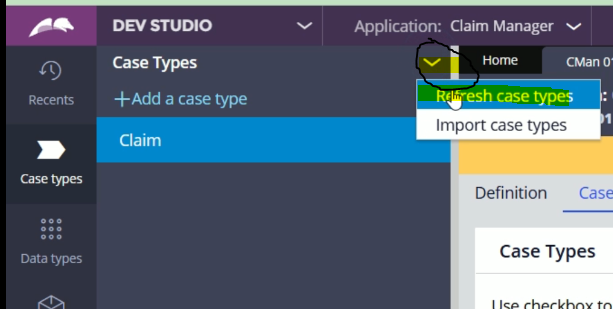
And finally, the missing case types will be visible.
But here, there is a small catch. We need to create Child case, but here we got two new top level case types.
Now, its time to define the Parent-Child relationship in between these case types.
Out required is create two child case types under Claim case.
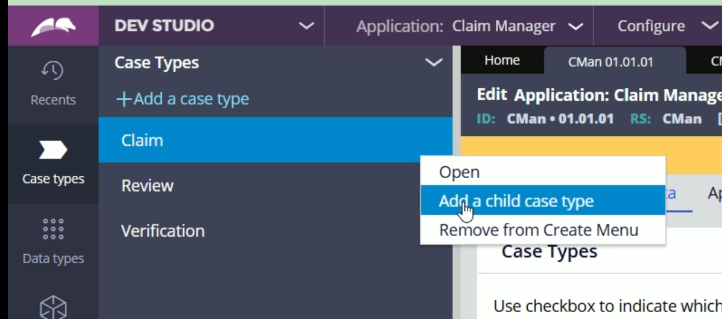
So, put your cursor on Claim case and click three vertical dots > And click Add a child case type
You will get a popup like below. From here select Existing Case type radio button
And from dropdown, select Review case type
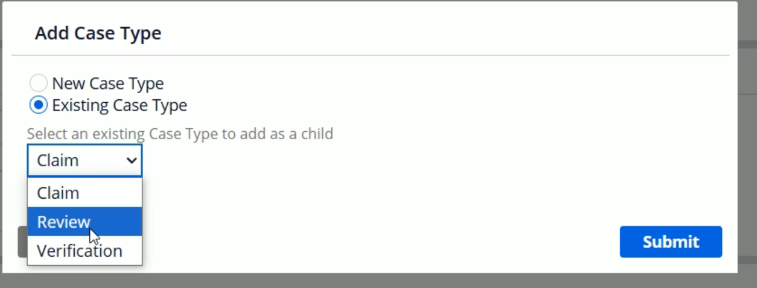
Click Submit
Now, you will find Review is child case type of Claim case type.
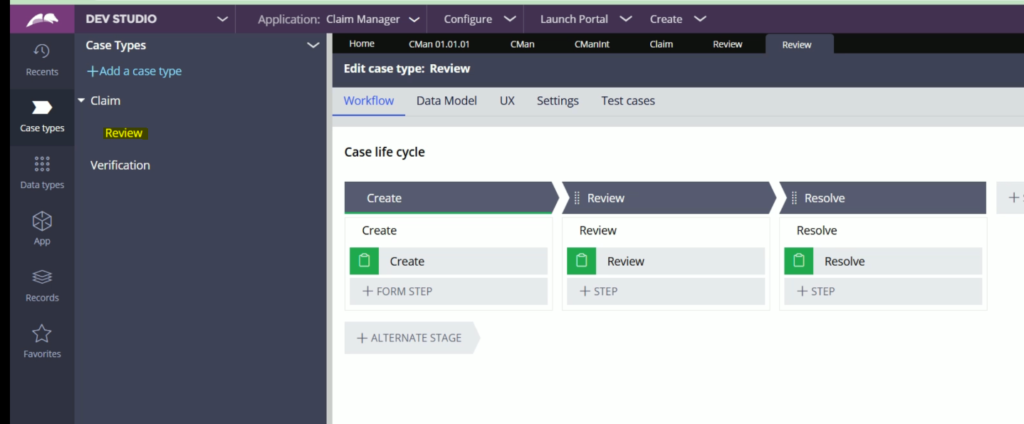
In the same way, lets make Verification as child case of Claim case.
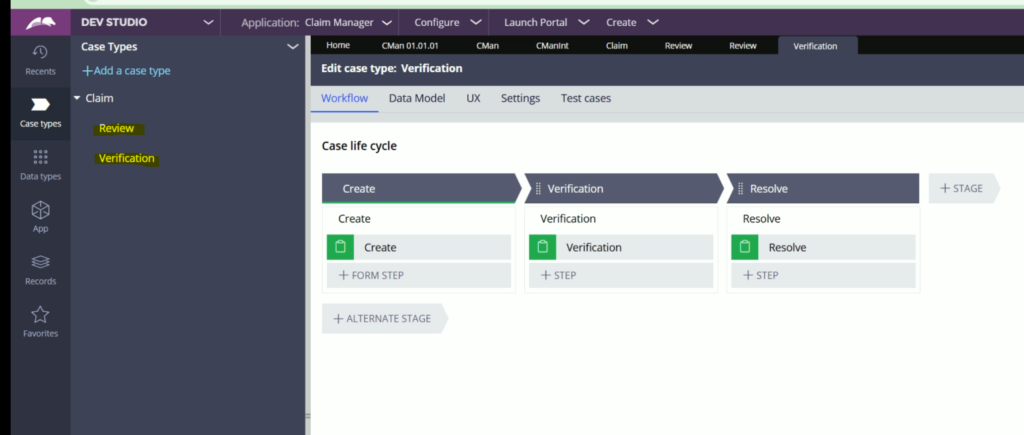
So, finally we have successfully configured the child cases under the parent case.
As we move on, you will find more articles on this series and at the end we will make this application working.