Hi All,
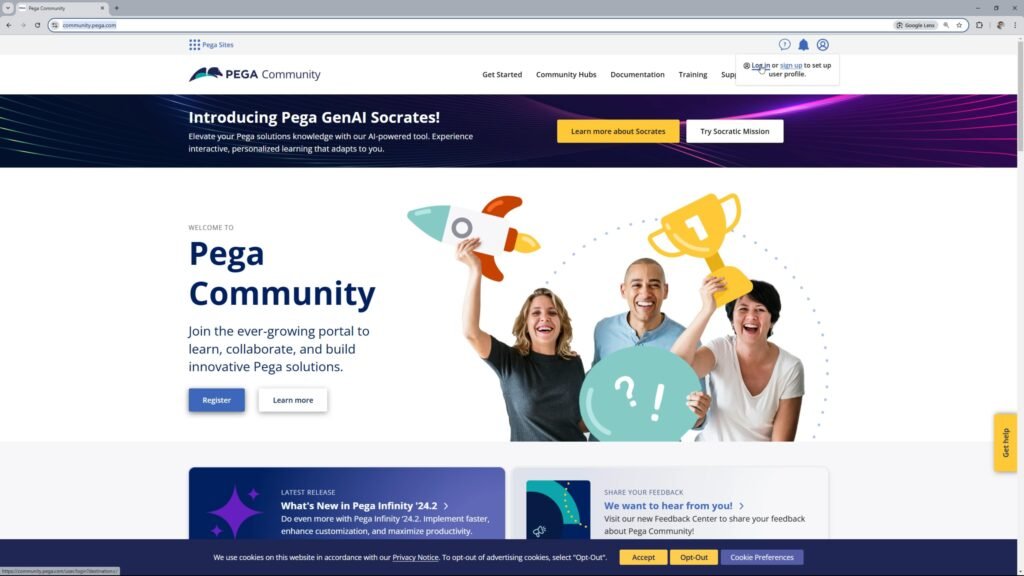
In this article, we are going to see how you will kickstart your Pega learning journey. You will first start with registering yourself on community.pega.com. If you are a working professional with a Pega partner company, you may register yourself with your professional email id. Otherwise you may login with your personal email id.
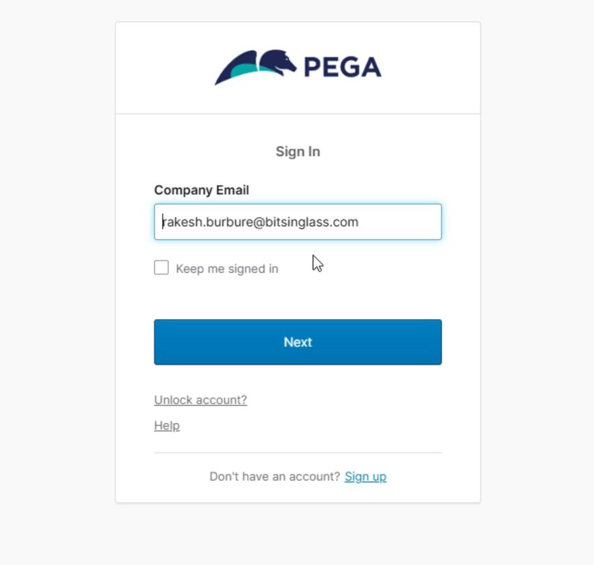
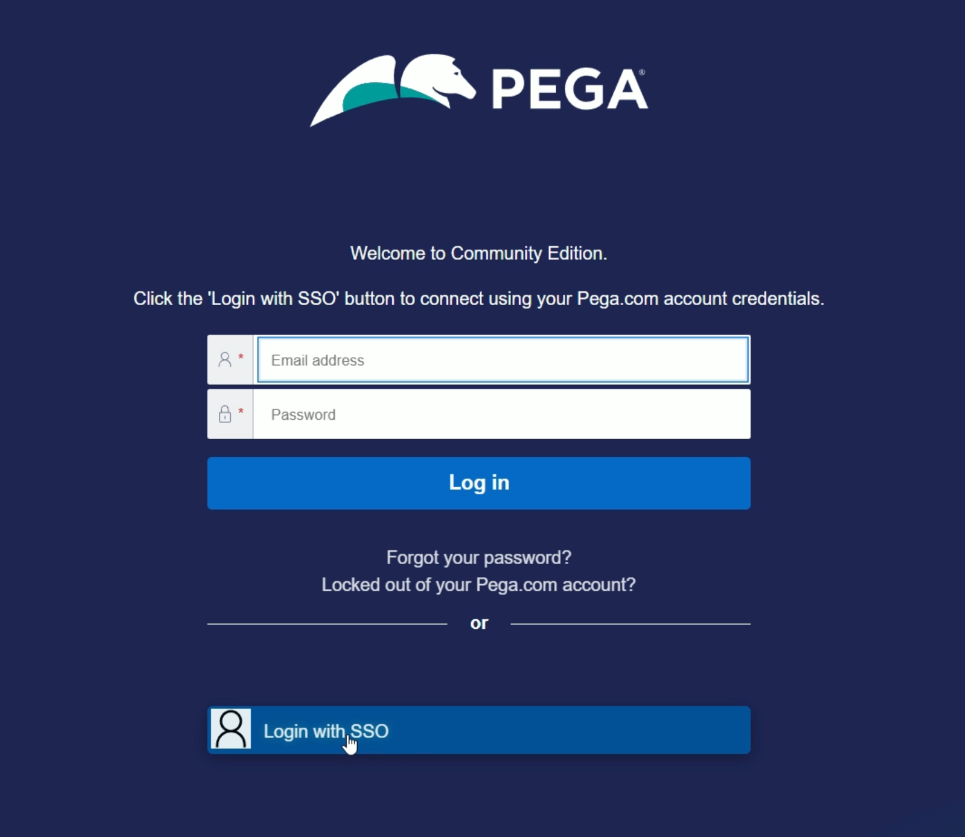
Once you are done with the Sign Up process, you can click Log in and enter your credentials in the login page
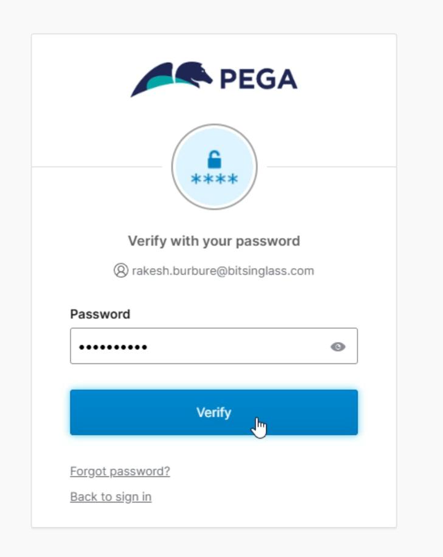
Click Verify the login. And now you are successfully logged in.
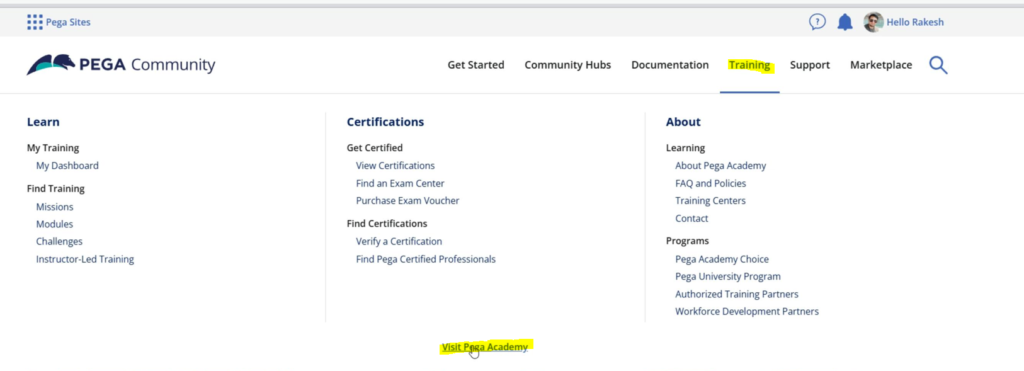
On the Community page, you will find different header menu option like Get Started, Community Hub, Documentation, Training, Support & Marketplace. At the moment our focus will on creating the Community Edition and start the Pega learning journey.
From Training option, click Visit Pega Academy
You will land on academy.pega.com page. From here go to Get Started and click Pega Platform: Community Edition

If you are vising this page for the first time or your Community Edition is expired, then you will need to register for the community Edition. Just select the checkbox I agree to the terms of service and click Register for Community Edition button.

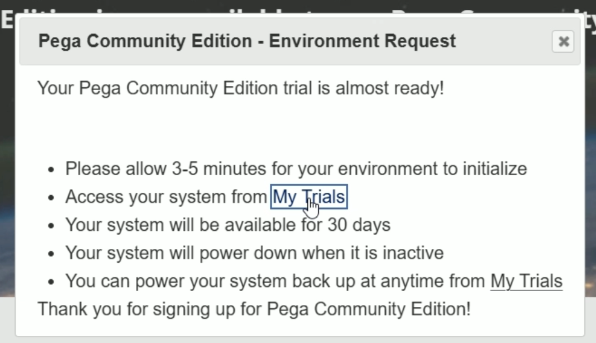
After this, you will get this pop up which says your Community Edition will be ready in 3-5 minutes. You can click on this My Trials page to see its status.
It will take some time to load the Trails page and here you will see your Community Edition where you can do your practice.
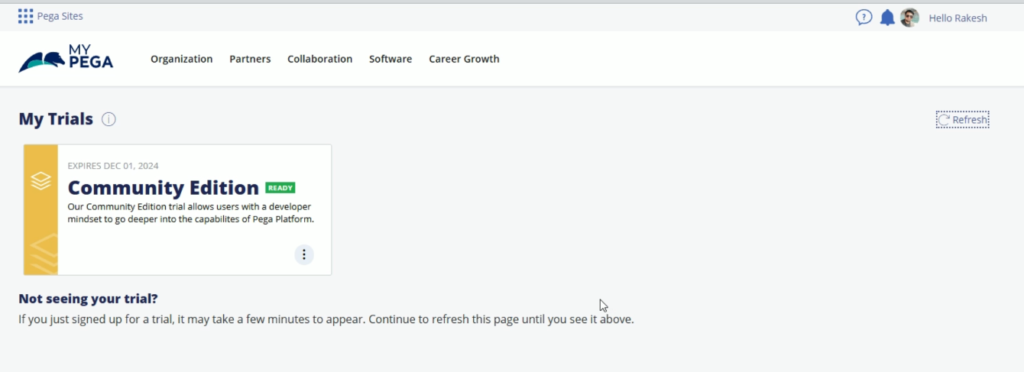
Now simply click on Community Edition to launch this. This will launch the Create New Application screen.
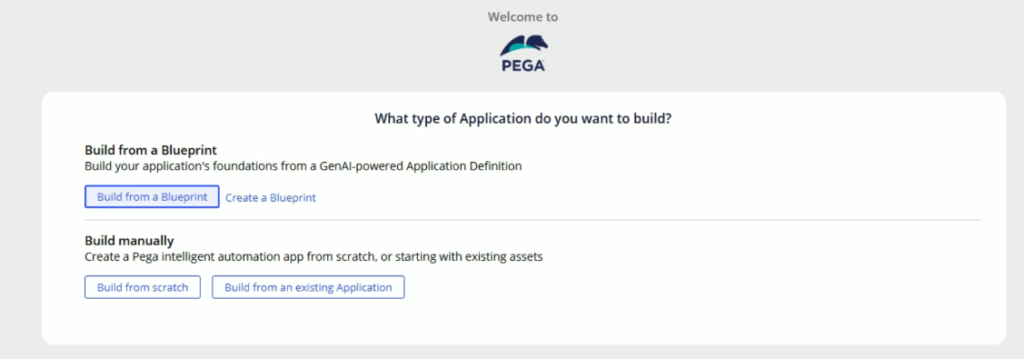
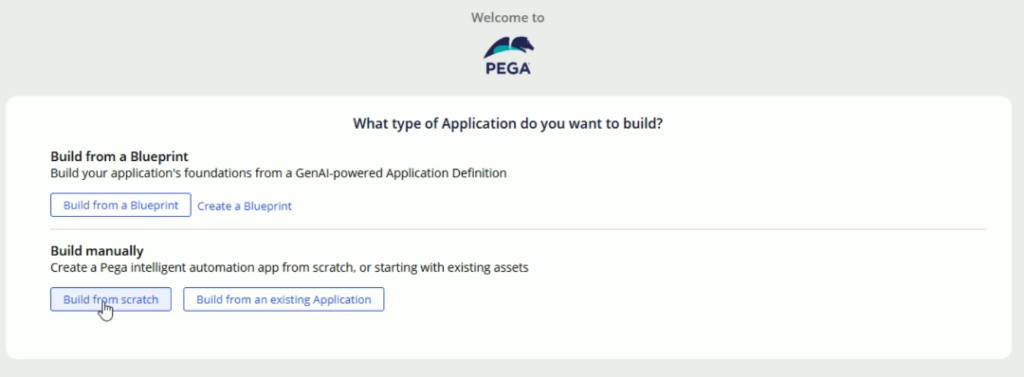
Here you will observe two categories. One to create an application with the help of Blueprint, and the another one is to create the application manually. We are going to have a separate article for creating an application from Blueprint. Here we will talk about manual application creation.
If you select Build from an existing Application, it will allow you to create an application on top of another application and also, it will allow you to create application based on Theme-Cosmos & UI Kit.
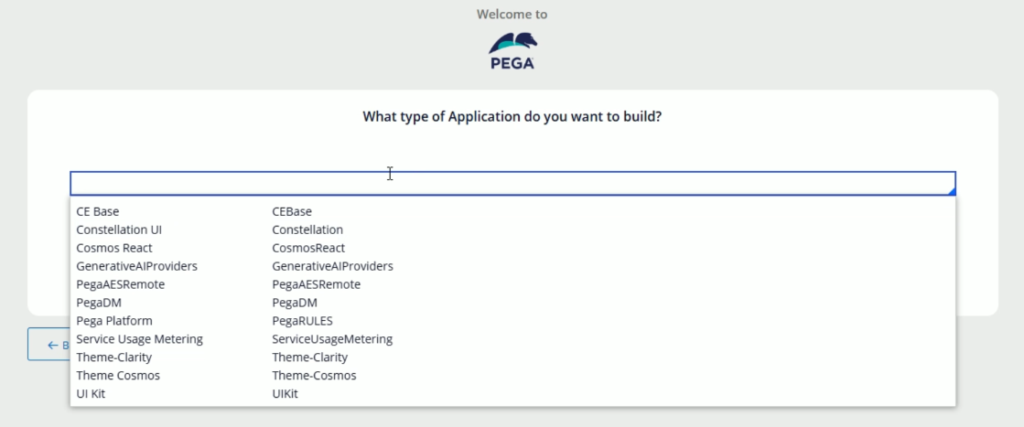
Go back to previous screen and select Build from scratch.
Now you will get the option to select Constellation UI and Traditional UI is not provided in Pega 24.2 version. This screen might get updated in the further Pega versions.
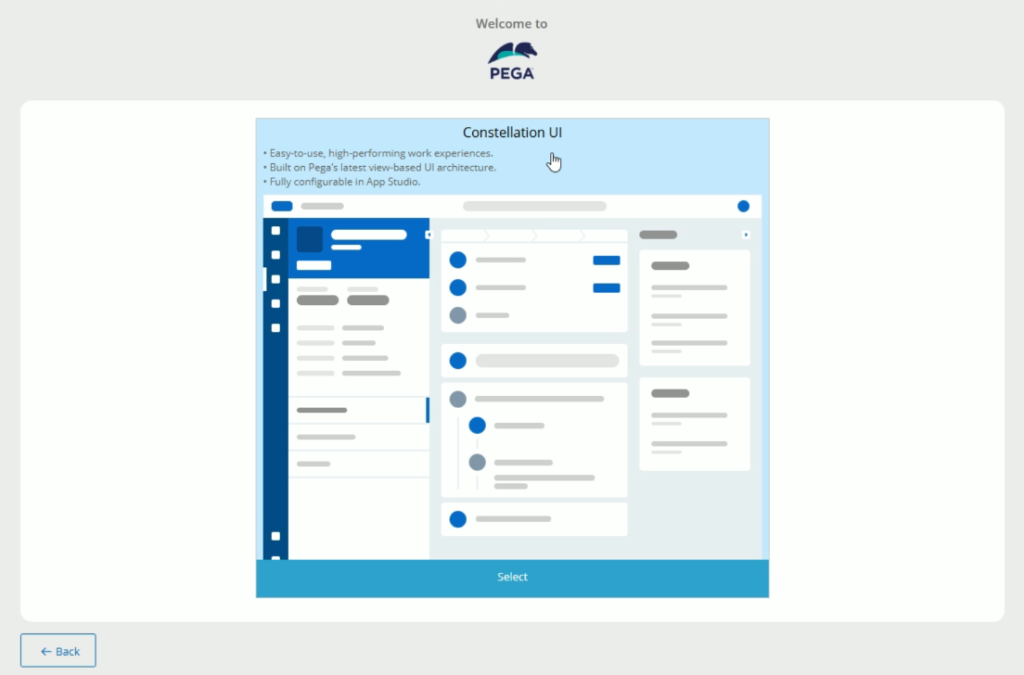
Click select to move to the next screen.
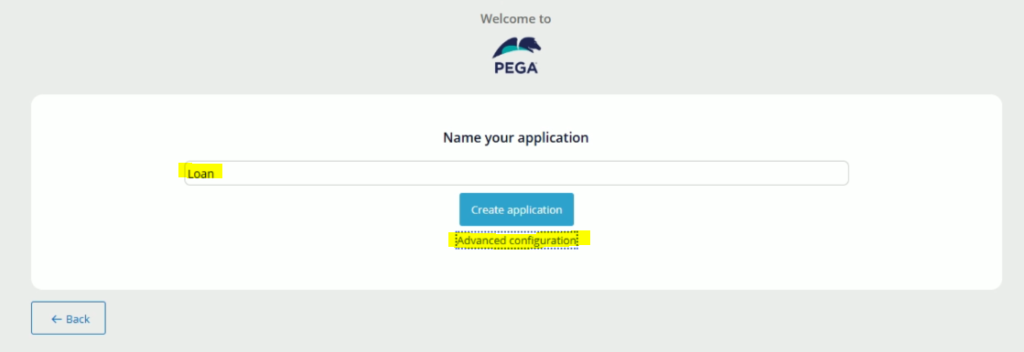
On this screen, provide name to your application and click on Advanced Configurations.
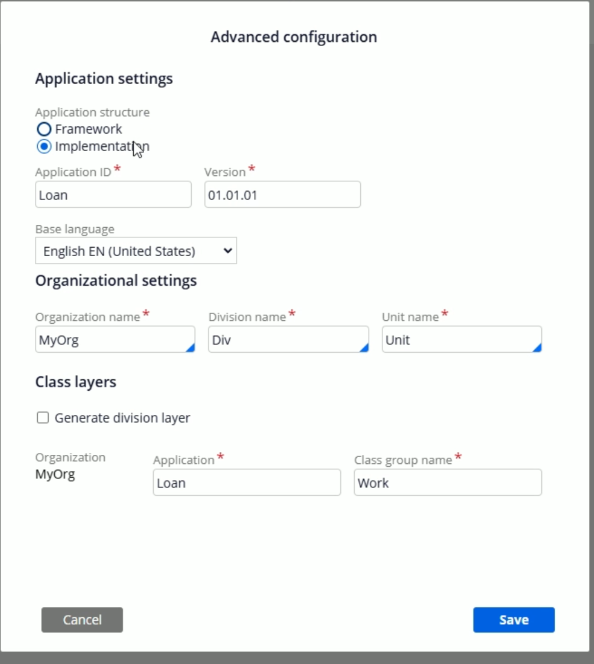
Application Structure: Make sure you are selecting Implementation here.
Application ID: This is the App ID and if you have provided a big text for the application name the Pega will truncate the text, and you can update it a short form or a meaningful short name.
Base Language: Select the language as per your need
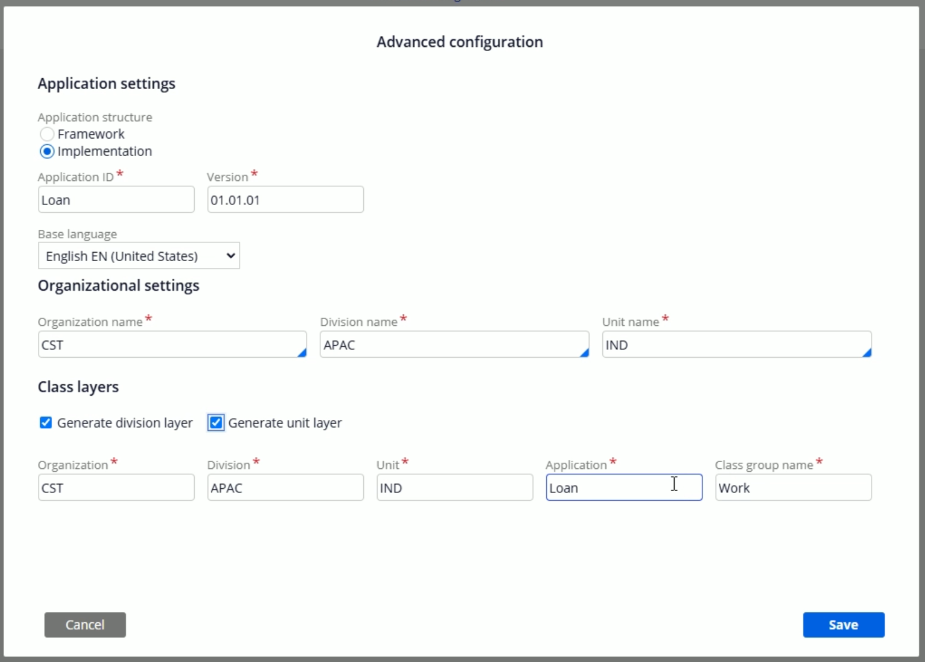
Organizational Settings: This is the place where we will define the Class Layers. You need to mention Organization, Division & Unit layers. Organization, as the name suggestion, its your Organization or Enterprise class. The next two options are Division and Unit layers. Based on the organization structure or business requirements, we can mention the Division & Unit layers. For example, if an application has users around the globe in different continents and different countries and you want to different application flavors for different countries, the Unit will be your continent and country will be your unit. And for different applications for a specific country, you will select different respective continent and country as Division & Unit. At the same time, based on the business requirement, the division could be a department in the organization and unit could be a team within that department. So before you enter Division & Unit, you must have in detail conversation with your client and then only you should take the decision. If there is going to be only one flavor of the application, in that can you may keep the Division & Unit names as it is.
Class Layers: Here you will get the option to include the Division & Unit layers to the application class layers. The first checkbox is Generate division layer and once you select this, you will see Division layer has got added to the class layers and also, you will get the option to select the Unit layer.
So once you fill all the entries, it will look like this.
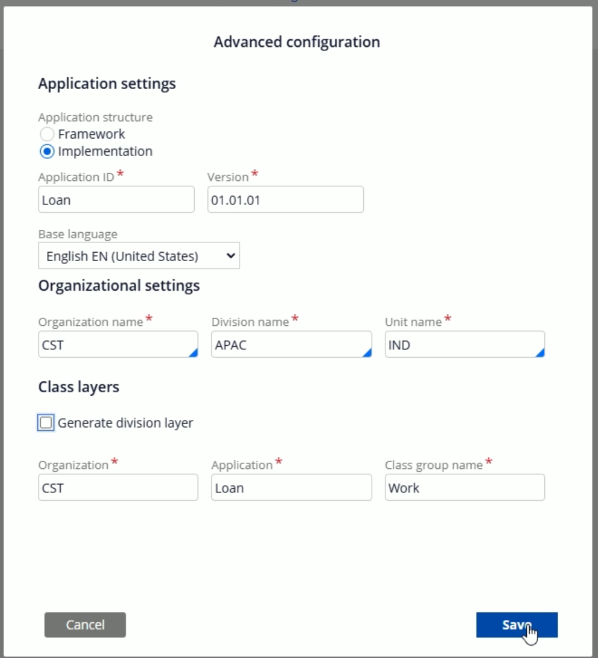
At the moment we do not need Division & Unit layer, so I’ll uncheck them and click Save.
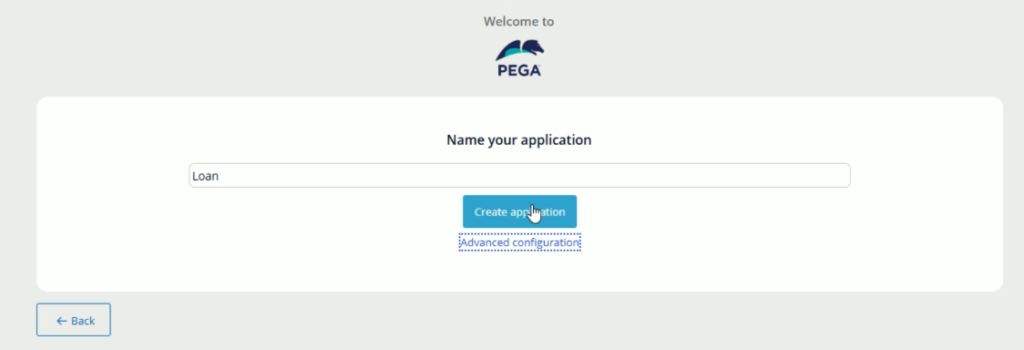
Now, you will go back to the previous screen and just click on the Create application button.
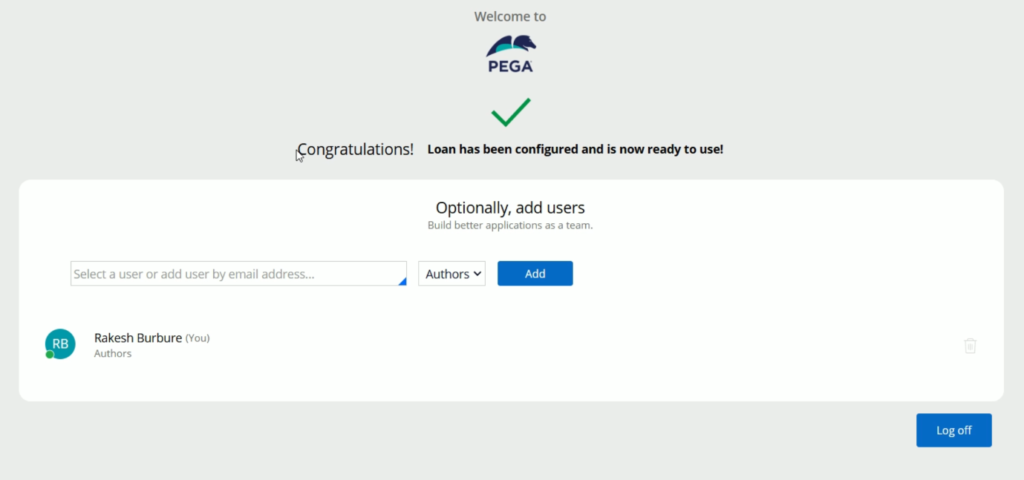
It will give you the confirmation message saying your application has been succesfully created.
Now click log off and from the login screen, click on Login with SSO
And finally you will land on the App Studio of your application