Hi All,
In this post we are going to talk about Pega GenAI Blueprint. It allows anybody to create a blueprint for any Pega application including Case Types & Data Types. Even though you are familiar with Pega, still you can go ahead and create blueprint for your business requirement.
The main use case of Pega GenAI blueprint is that, you can design complex structure in minutes. It becomes very important and useful when as a business person, you want to showcase your expectations from developers. With the business requirement document, you can pass the blueprint to the developers and stay ahead in the conversation.
Not only business people, even developers can use this tool quickly create a demo application with all the necessary case types & data types and get the design approved by the business to start with the development work.
So, once the blueprint is created, you can easily import it to create a new application and kick start the development work.
NOTE: After importing the Pega GenAI Blueprint file, the application will not be fully functional. You will need configure each and every step and automations to make it work.
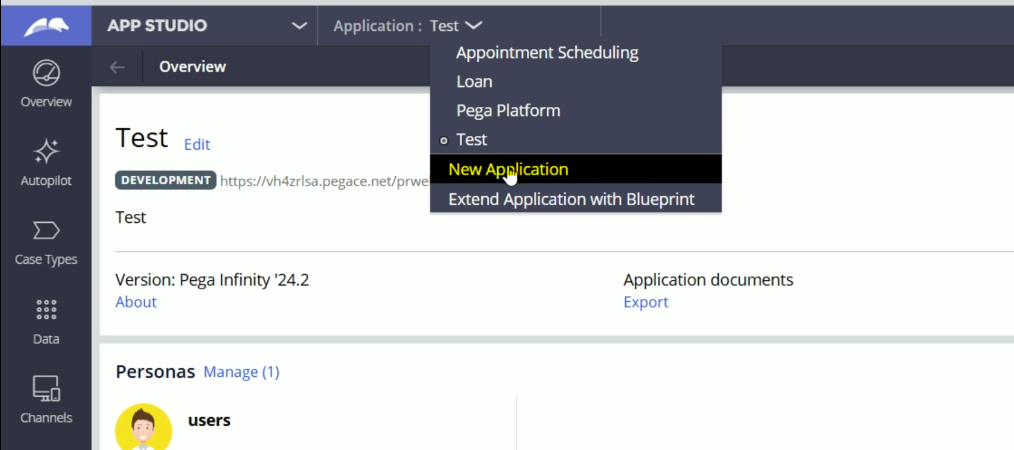
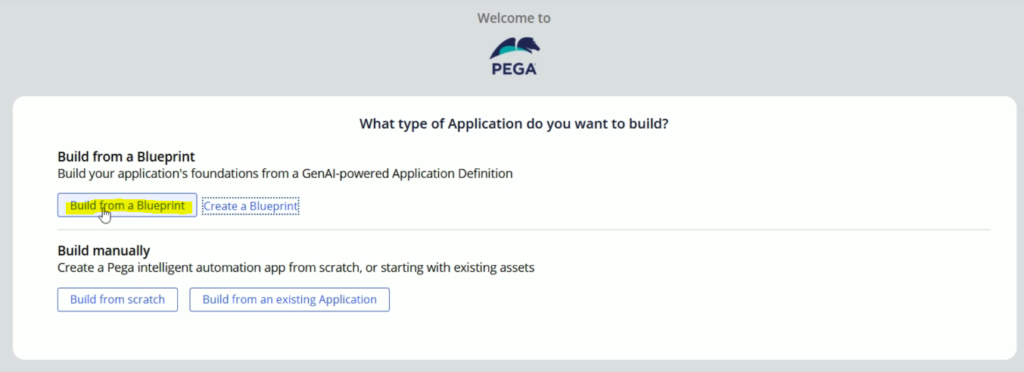
Now, lets start with the creation of the blueprint file. Once you launch your instance, you can go to Application menu and click New Application
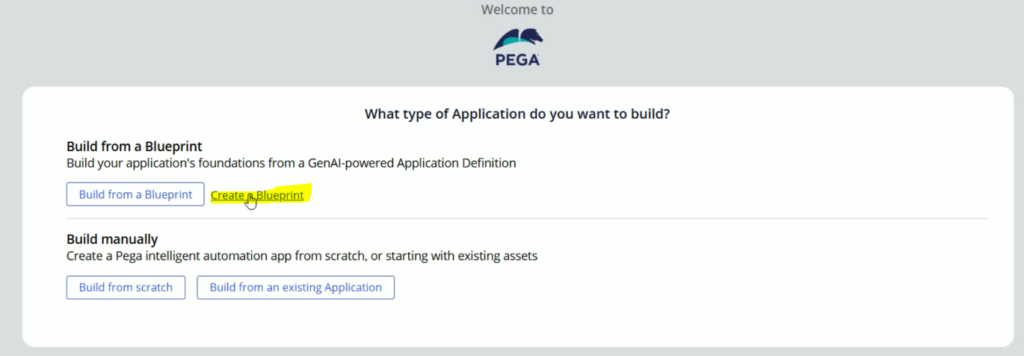
So here, within Build from a Blueprint section, we will get two options. One is “Build from a Blueprint” & the other one is “Create a Blueprint”.
So here first we will create a blueprint and for this, we will click the second option.
This will launch pega.com/blueprint link in a new tab.
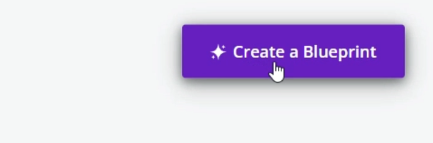
Now, click on Build a Blueprint button.

It will launch the Blueprint Dashboard.
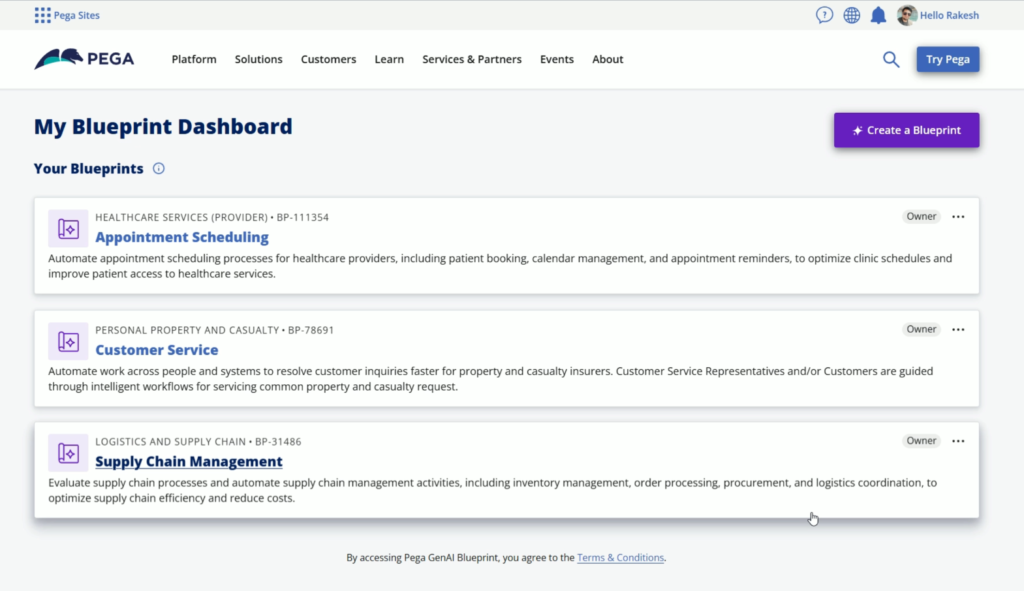
In your case, you might not find the Blueprint in case you haven’t created any blueprint. Click on Create a Blueprint button to get started with this process.
It will launch this below screen.
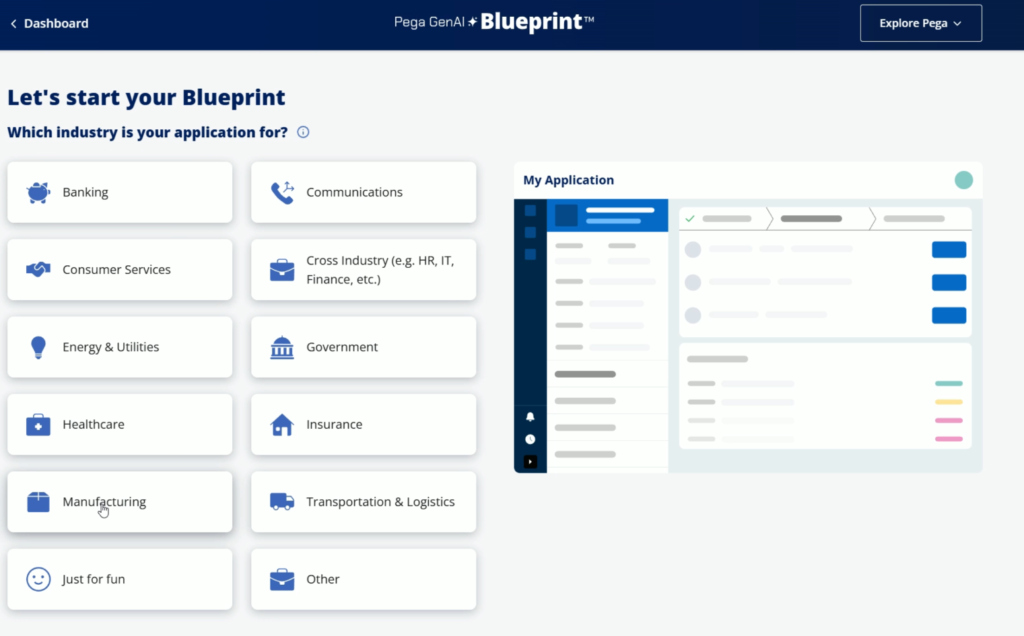
Here you will find different industries which you can consider for your business application needs. Based on you your business needs, you can select the respective industry.
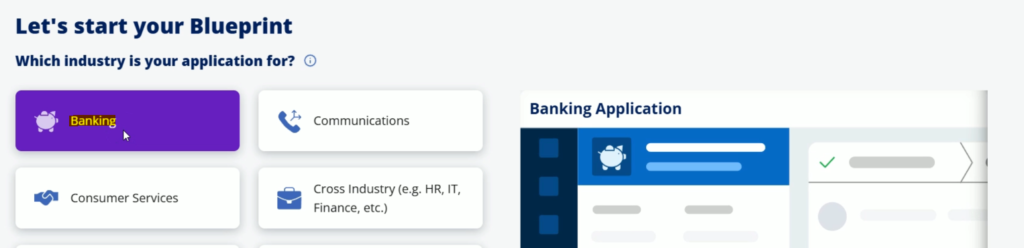
Now, lets say, my application is related to Banking industry, then I’ll select Banking.
If your option is not selected, then you can go with Other & if you are just experimenting the option, you can go with “Just for fun” option.
Now, lets select Banking option.
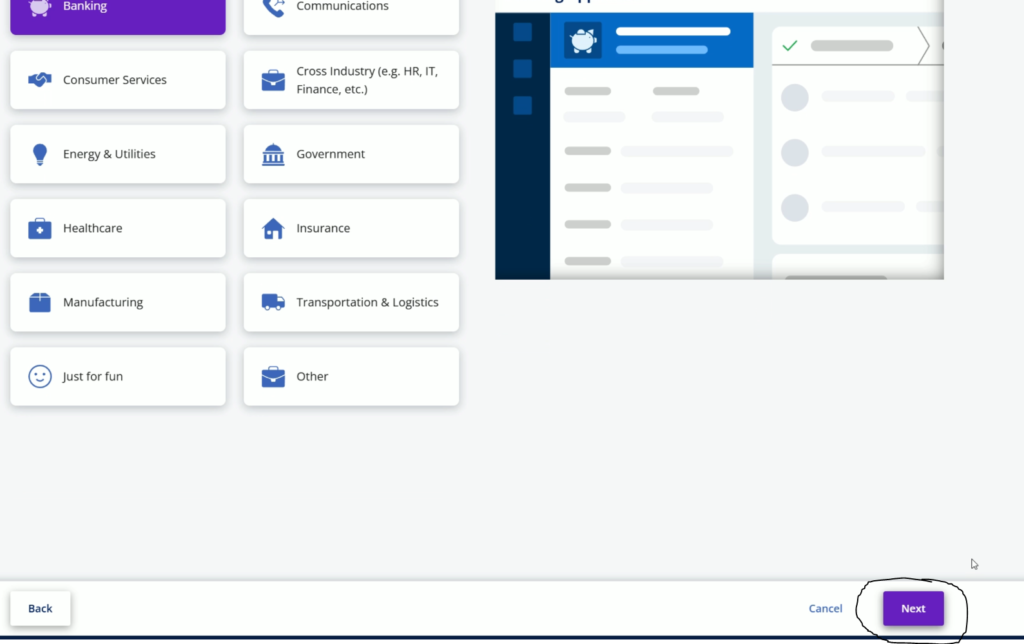
Now, scroll down & click next
Now, within Banking Industry, Pega GenAI will suggestion some sub industries. And, if your option is not available here, you can go with Other option.
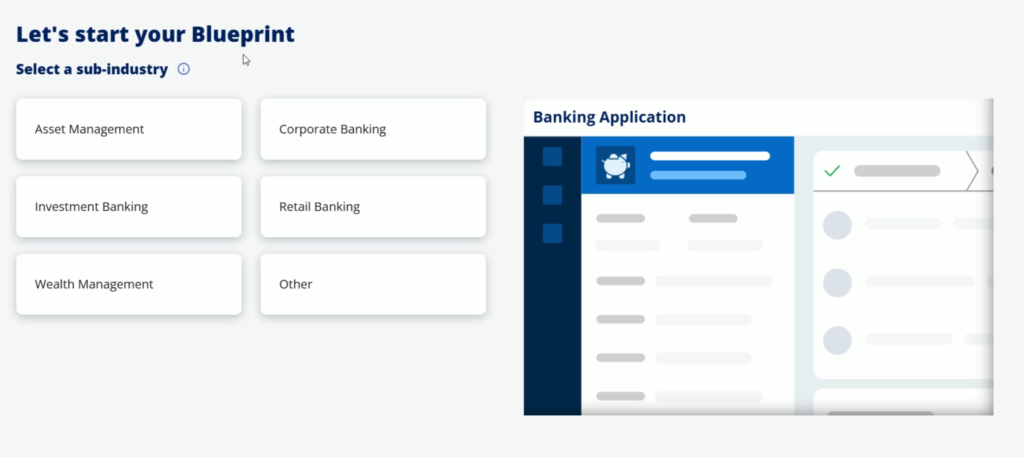
Now, lets select Corporate Banking, and based on our selection, it will give us one more option to select Department/function.
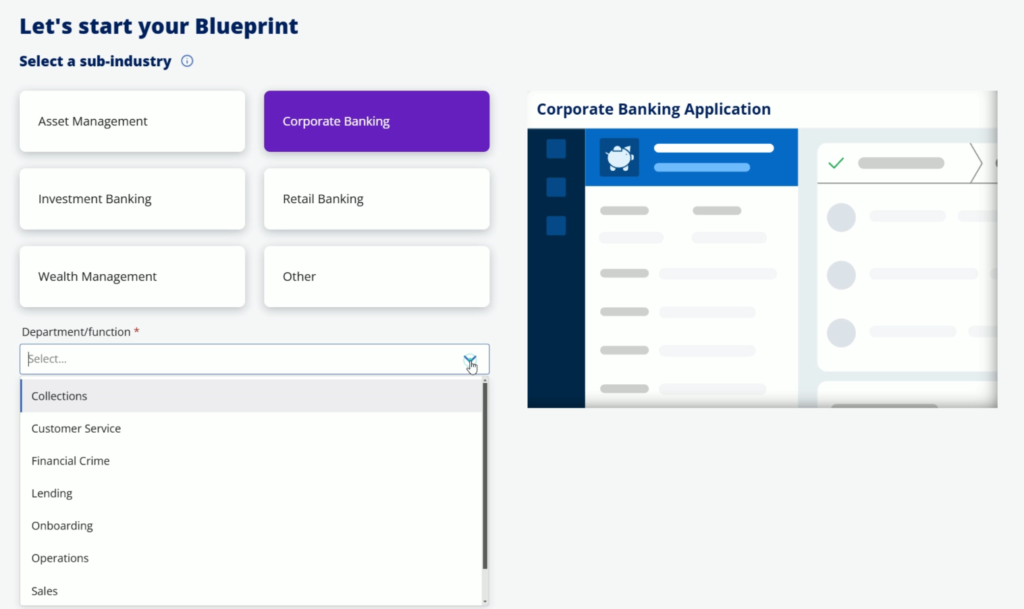
Lets select Onboarding.
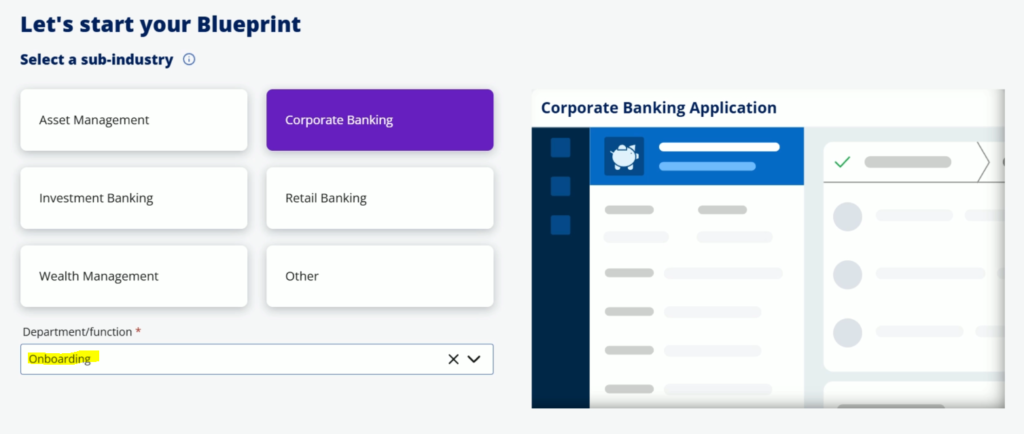
And scroll down and click Next.
So based on our selection, Pega GenAI will recommend some Application purposes. You may choose one option among them. Or you can enter your own application purpose.
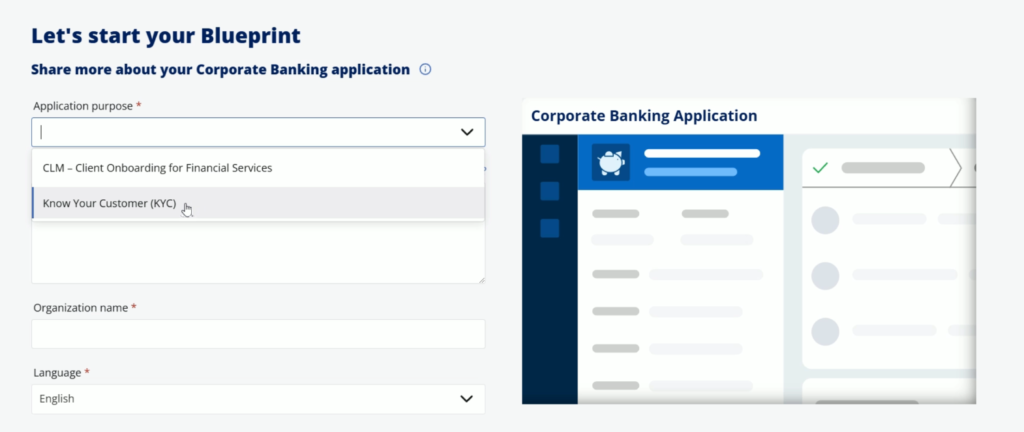
Lets select KYC
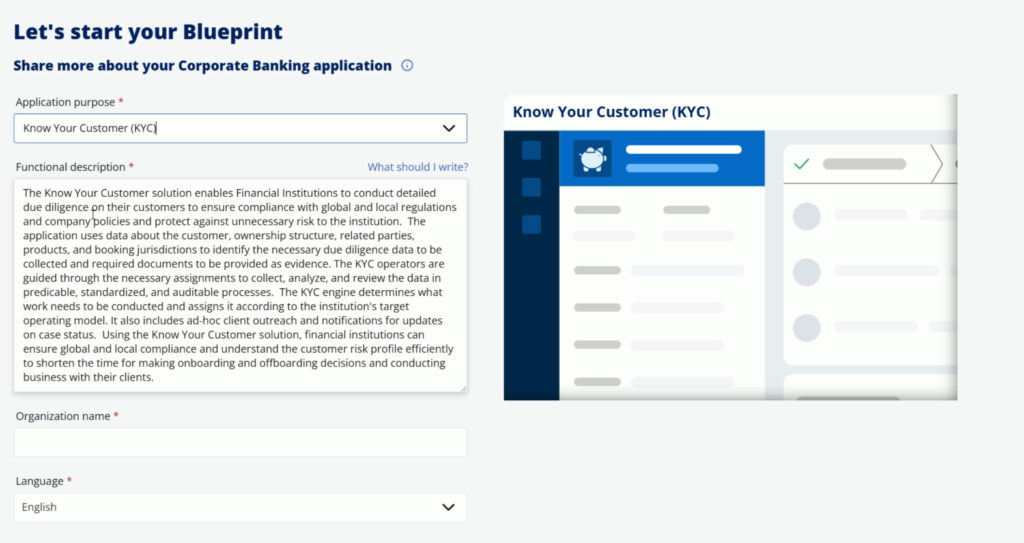
Once you select this option, it will load the respective Functional description which you can edit.
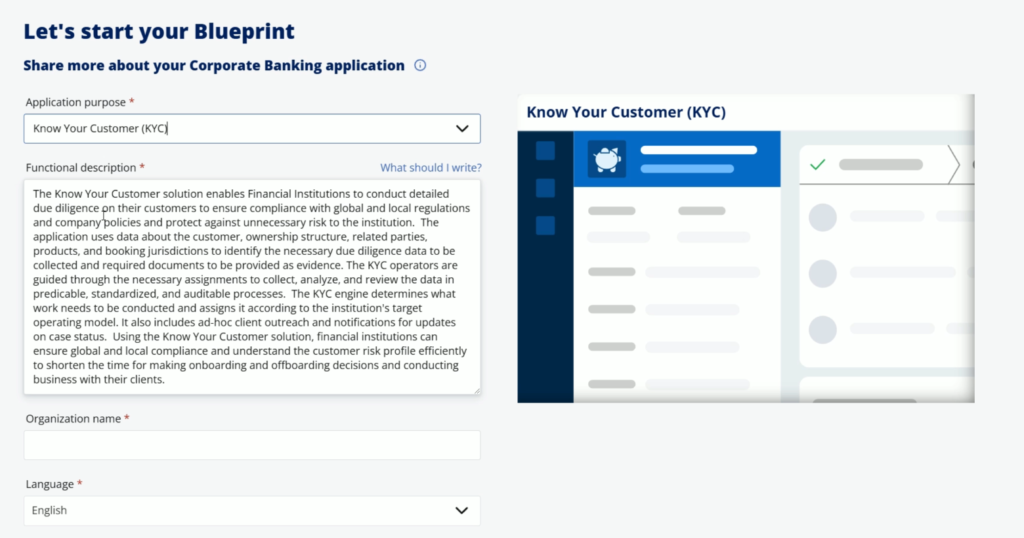
Now its time give the Organization name & select the Language. After selecting this click Next
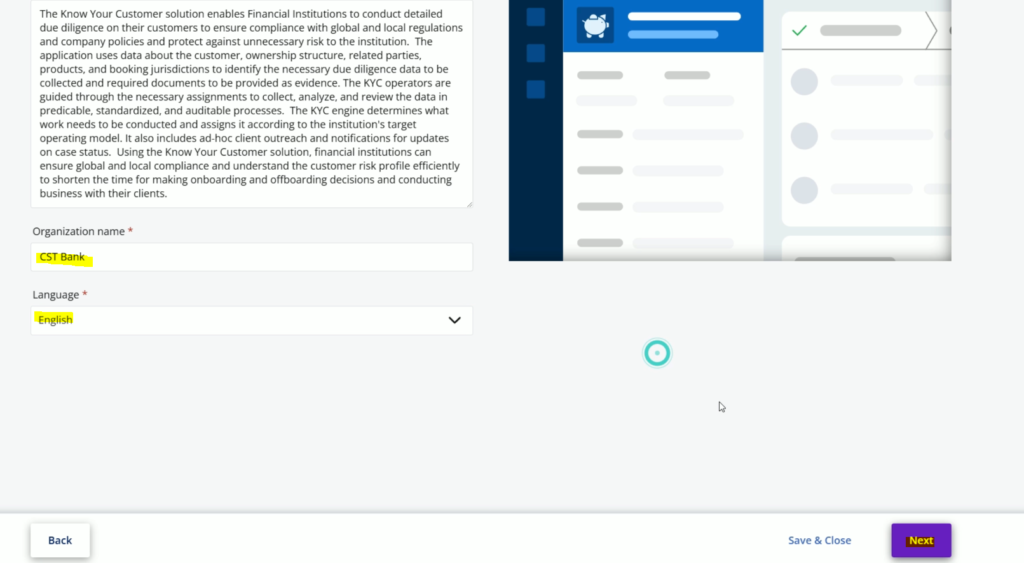
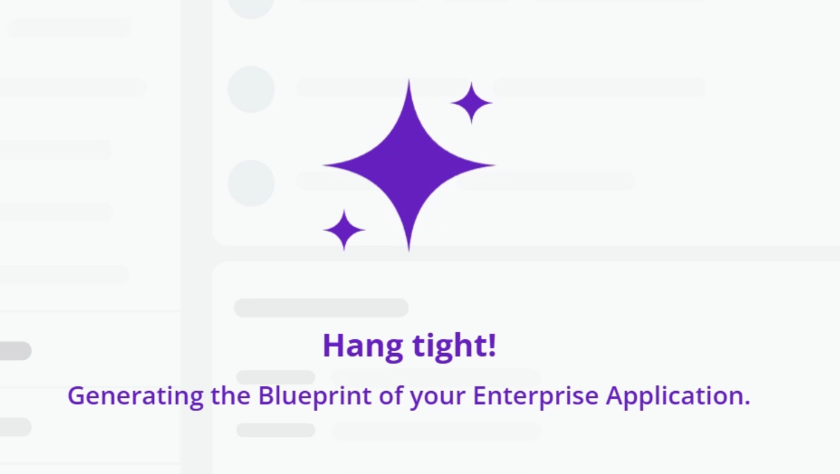
It will take some time to process all the inputs and showcase the suggestions.
We will land on the below screen, where we need to configure the case types. GenAI has suggestions below case types. You can remove any case type if you don’t need any. You can edit the case type to suit your business requirements.
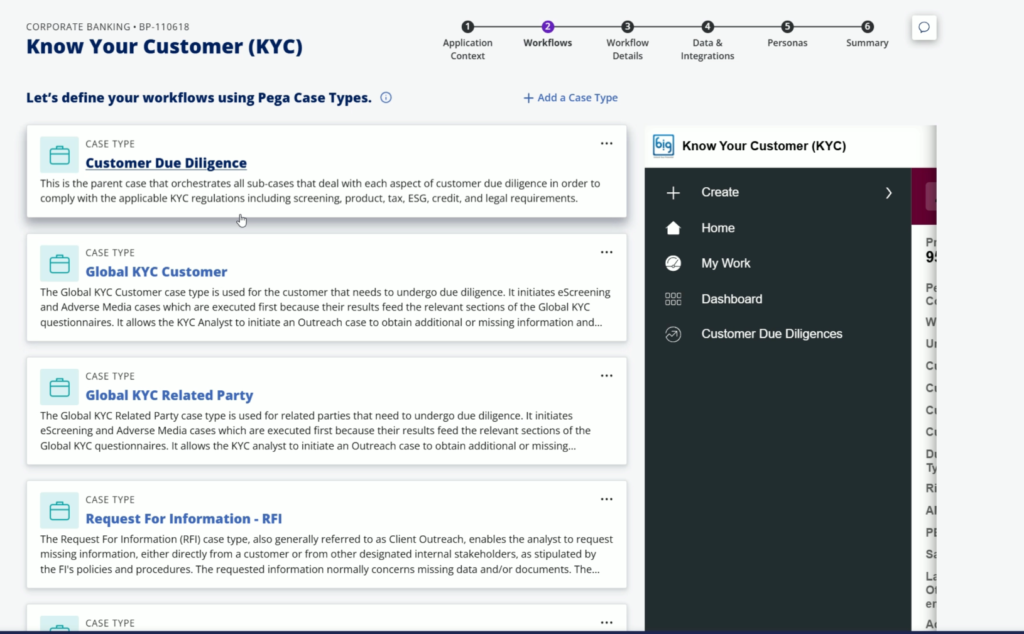
If you scroll down to the bottom side, you will find the Generate More button, after clicking it this, it will load more suggestions to you.

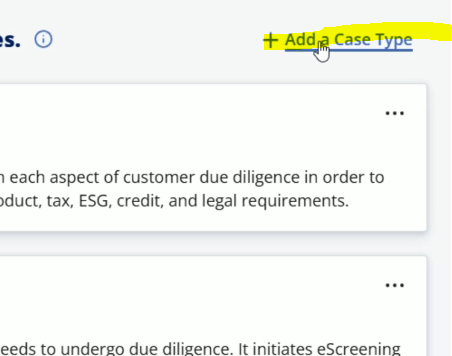
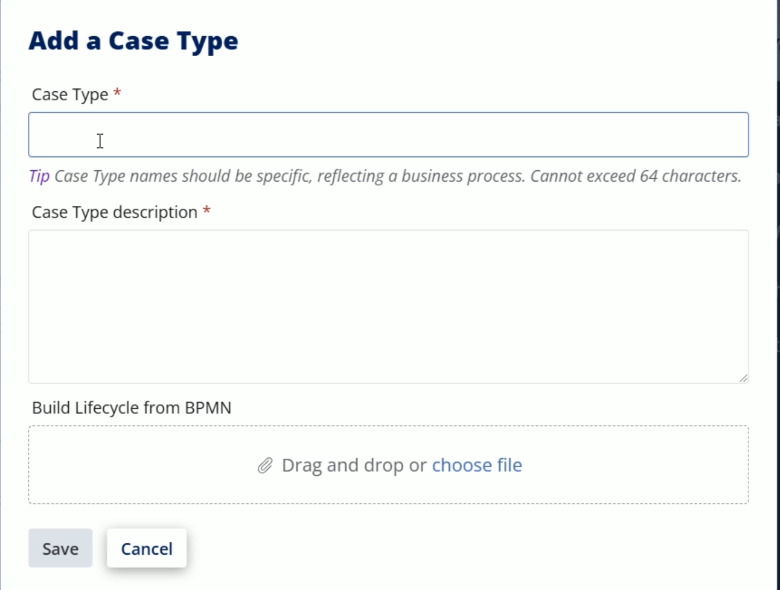
If you wish to add any case type, you can click Add a case type hyperlink.
And enter the details and click Save to add a new case type to the list.
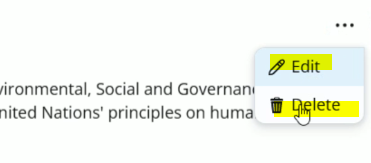
If you wish to delete/update any case type, you can click three horizontal dots and select the desired option.
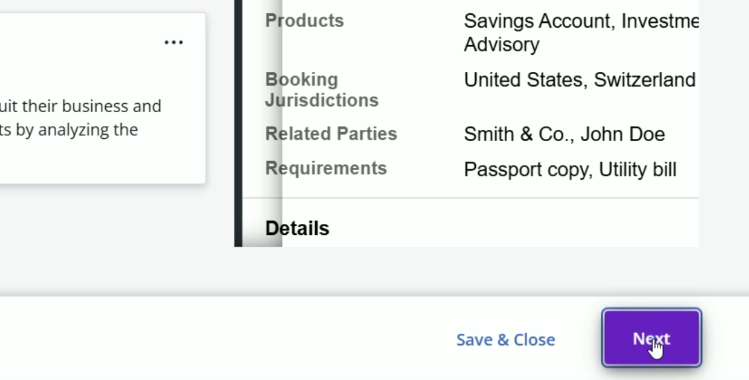
Once you are done with all the case types, go to bottom side and click Next
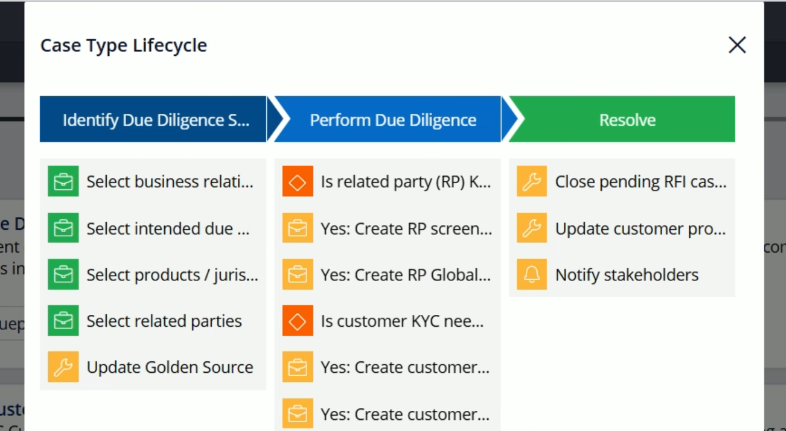
Now, its time to update the case life cycle & properties. Pega GenAI will provide stages and steps within each case type. Also, it will suggest some properties as well. Now, we can visit each case type and review stages, flows & steps within it.

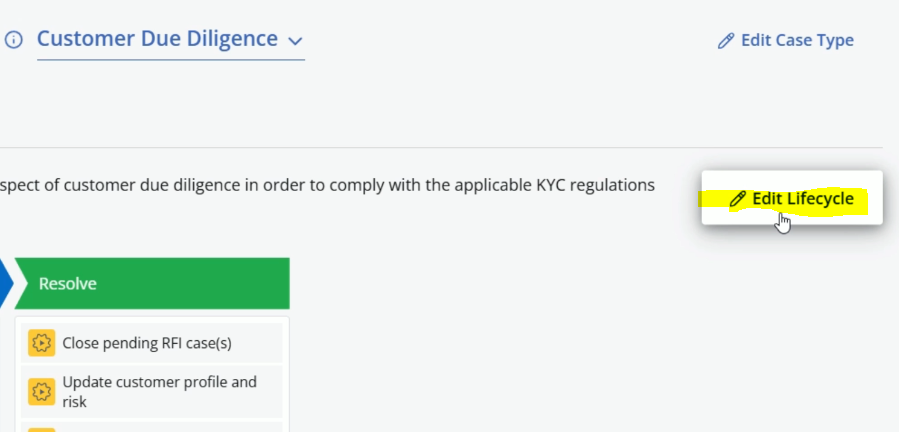
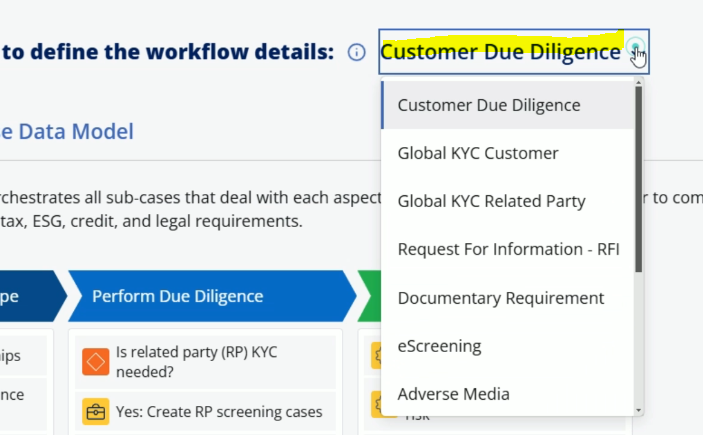
Here, case life cycle for Customer Due Diligence is shown. You can select different case type from the dropdown to edit its case life cycle.
To edit the select case type, click Edit Lifecycle.
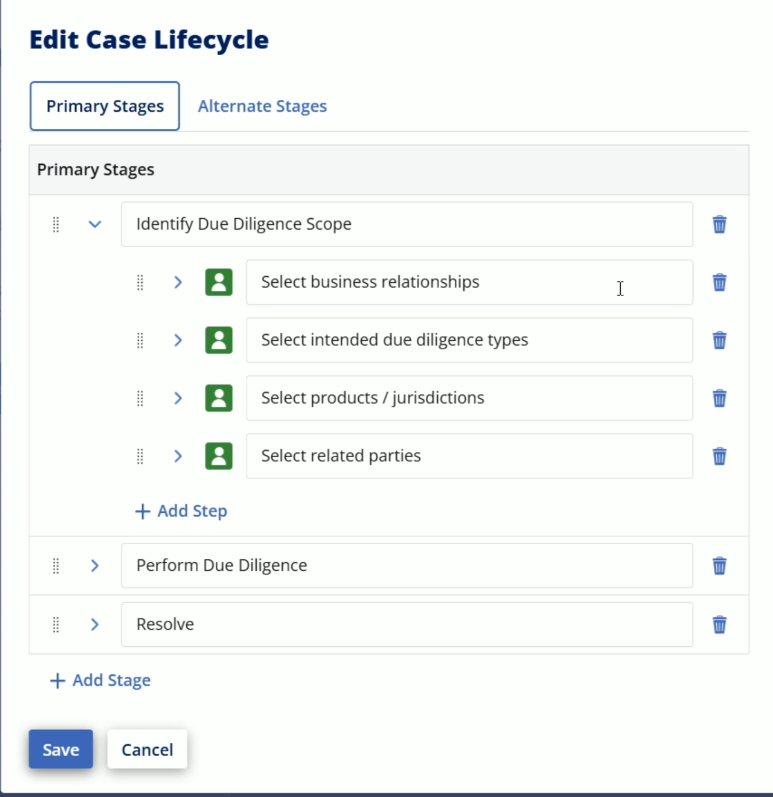
It will open the case type in edit mode where can update it as per our needs.
You can configure the alternate stages from the Alternate stages tab.
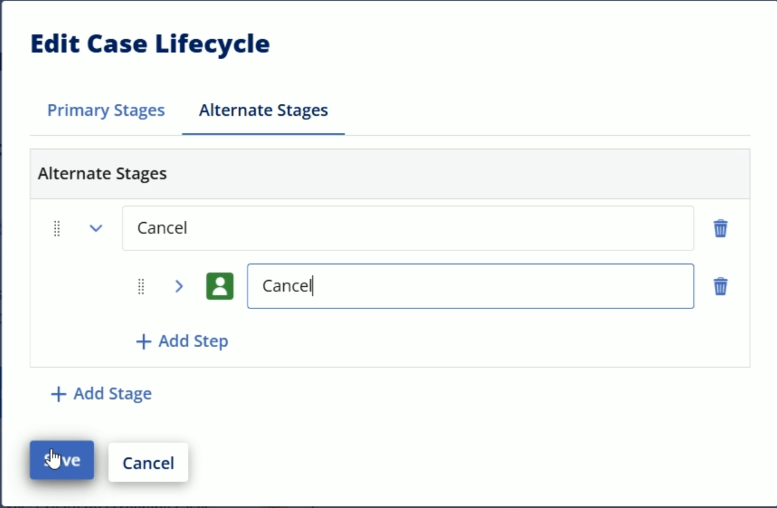
After entering the stage details, simply click Save.
It will close the pop up and again click on Edit Lifecyle
When you add a new step, by default it will be Collect information step.
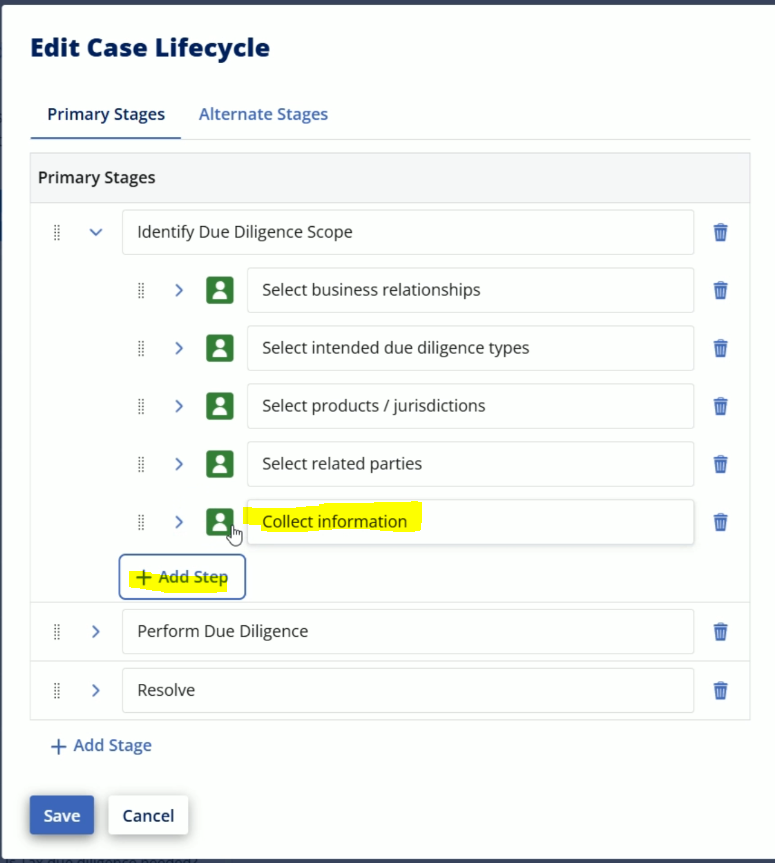
You can click on it to change the step type.
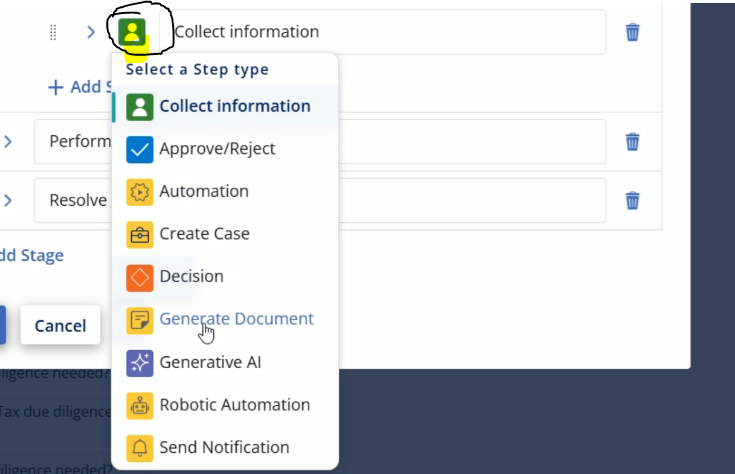
After selecting the desired type, you may change its label as well.
So, once I am done with my changes, I can click Save.

Like this case type, you can visit different case types and update their life cyles.
Within same screen, you can visit Case Data Model tab to see the properties which Pega GenAI suggested.
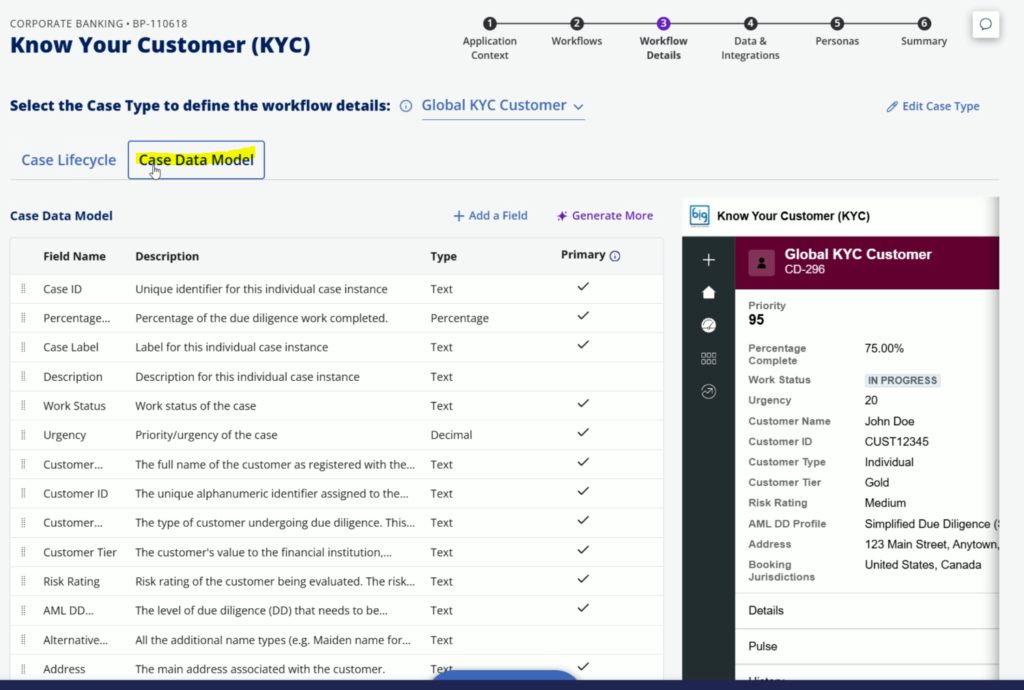
If you want, you can add more properties to the list by clicking Add a field button
You may fill this forma and click Save.
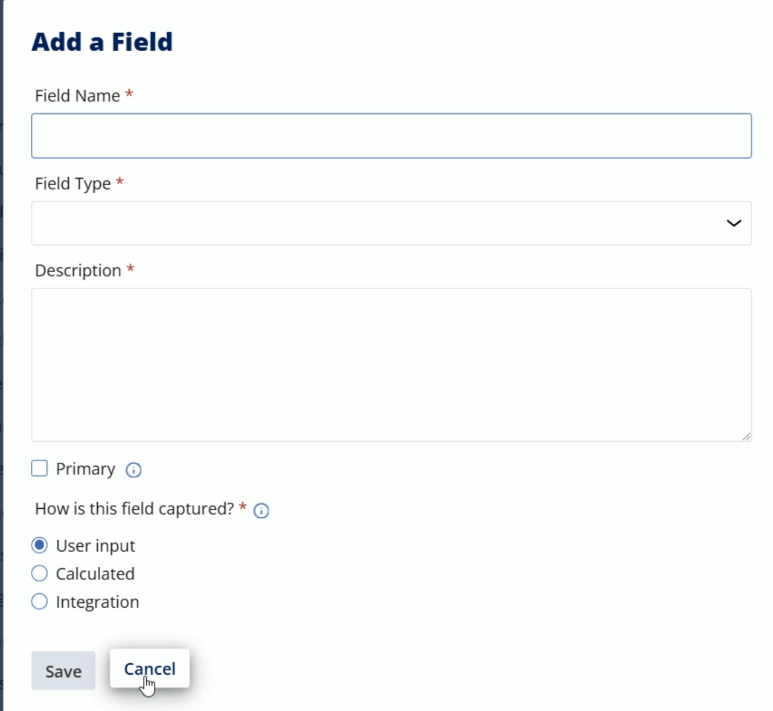
At the moment, lets go back by clicking Cancel.
After visiting all the case types, its time to click Next
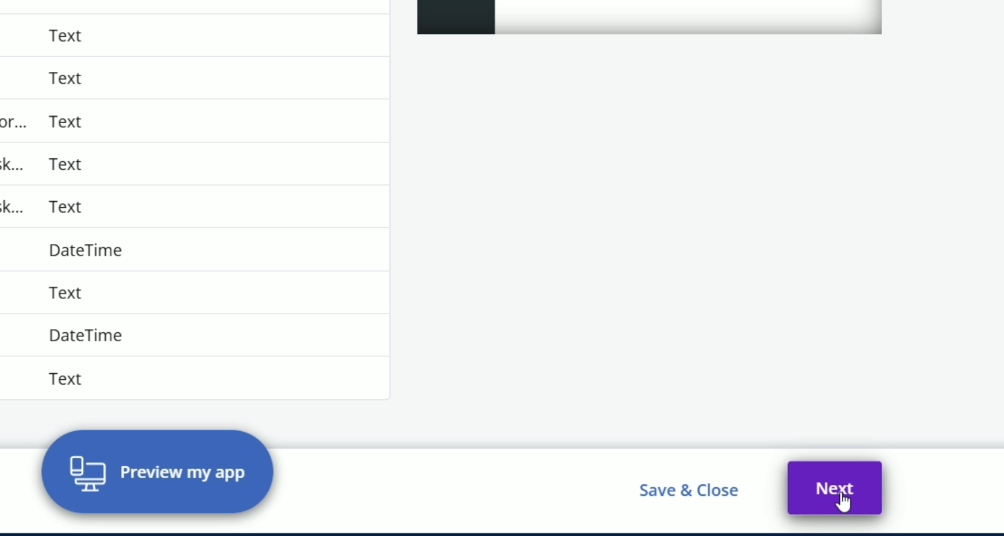
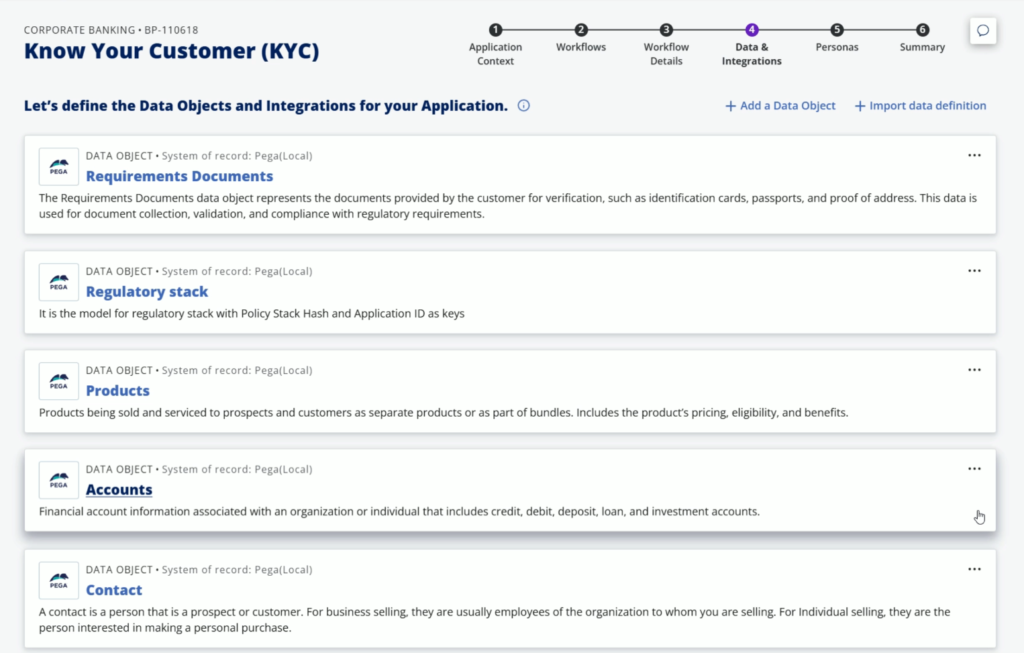
On this screen, we can define the Data Objects.
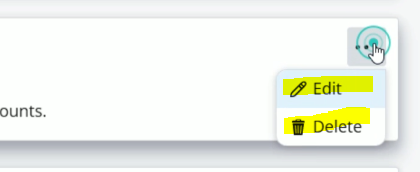
You can click three horizontal dots to Edit/Delete the Data type.
For all the Da types, by default the system of record will is Pega. If you want you can change it by clicking Edit button.

Here, click Create new from dropdown
After this, it will give one more option to enter the System of record name. Enter this name and click Save.

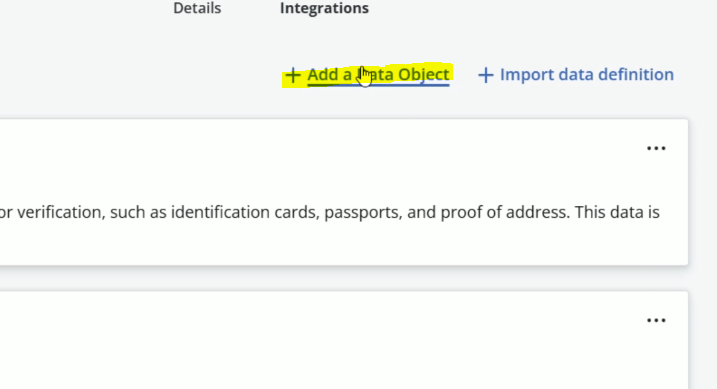
If you want to add a specific Data type, then you can click Add a Data Object from the top.
You can fill this below form and click save to add a new Data Object.
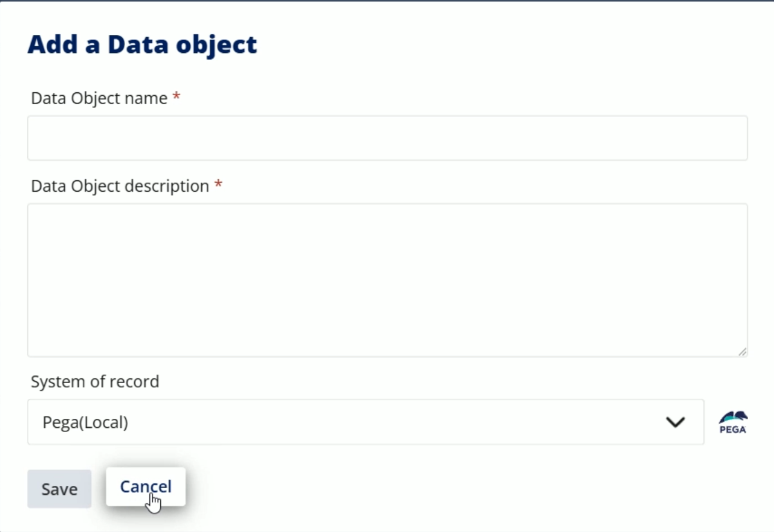
Lets click Cancel to go previous screen.
Once you are done with the Data objects, go to bottom screen and click Next.
Now, on this screen, we need configure the Personas.

Just like we have seen with the previous screens, we have Add, Edit, Delete options which we can use.
Once you are done with all the personas, go to bottom side and click Next
Finally, we will land on the Summary screen.

It will show all the details, which Pega GenAI Blueprint has. You can click Download the pdf file by clicking Download PDF button. You can share it with the people to get it reviewed.
Also, there is one option to download the blueprint. Lets click that to download the blueprint.
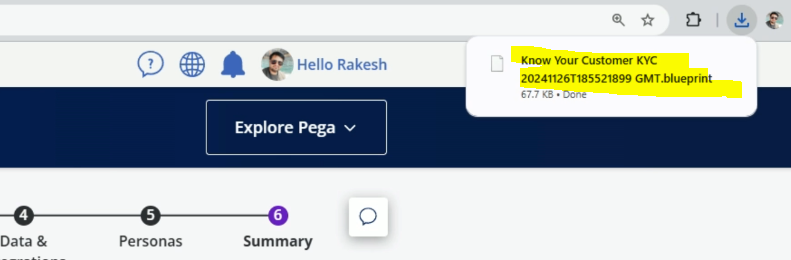
So finally, the blueprint file is ready and we can directly import it and create a new application.
Now, it’s time to go back to Pega App Studio. Previously, we followed the “Create a Blueprint” hyperlink. Now, lets click “Build from a Blueprint”.
Select Upload a Blueprint option and click “Select a Blueprint to upload” button.
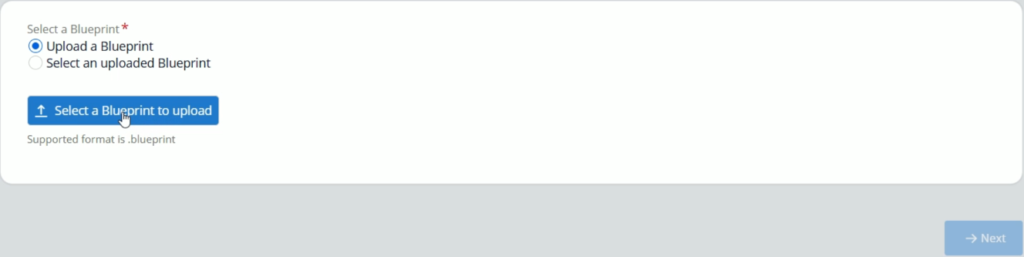
After selecting the .blueprint file, it will take some time to process the file. After this it will land on the below screen. On this screen, you can change your application name and built on application.
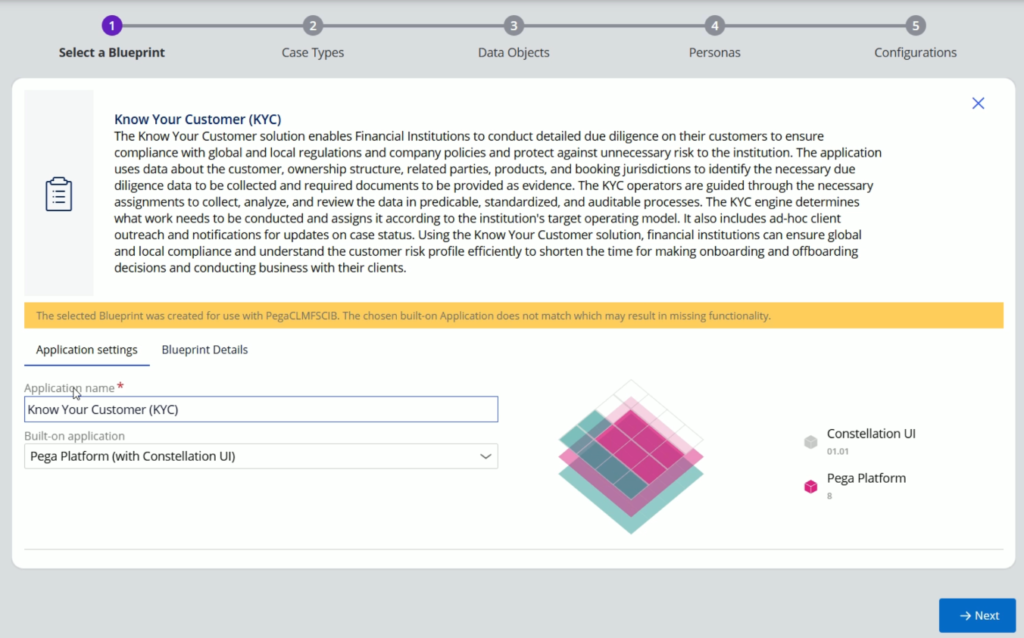
If you are building your application on top of some other application, then you can change the Build on application. Here we are going with Constellation UI application only.
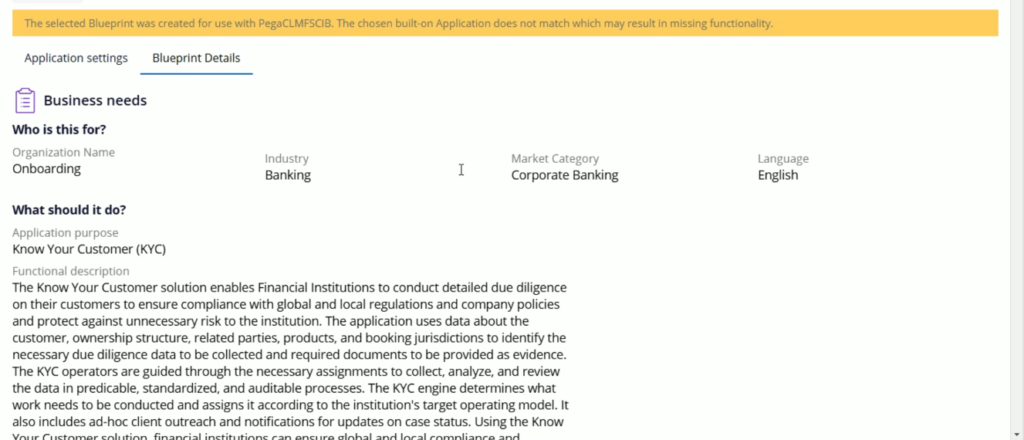
If you go to Blueprint details, it will show you al the details, which were available on Blueprint summary screen and in the Blueprint pdf file which was available for download.
Let’s click Next.
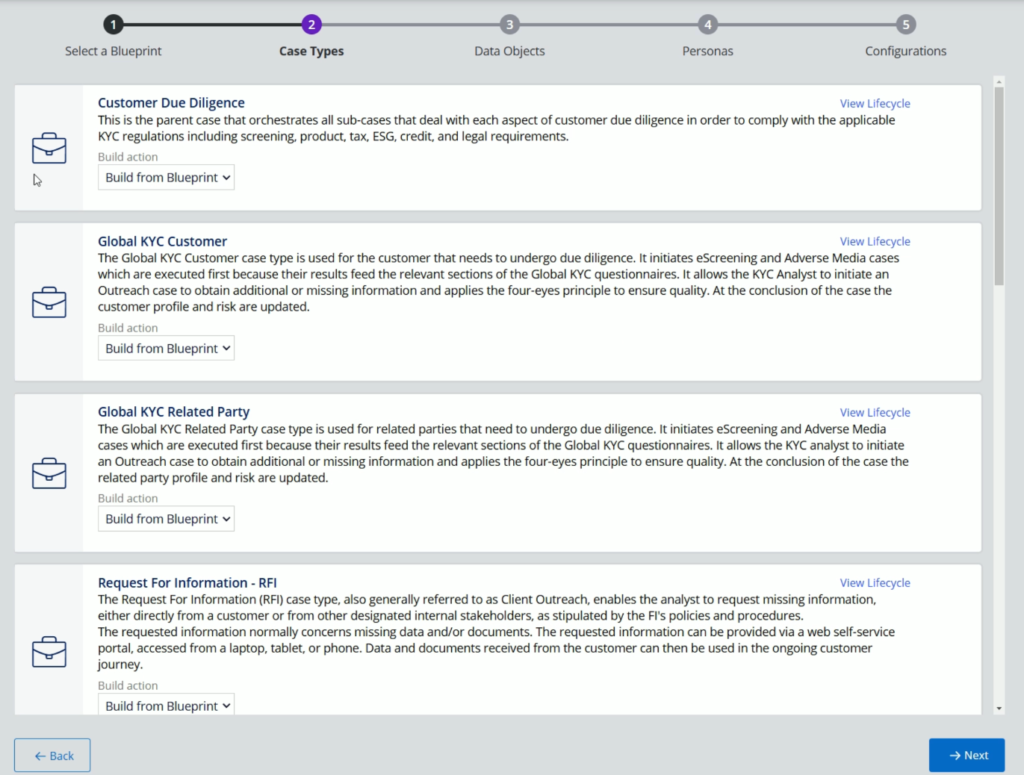
So, here on this screen, we will see all the Case types which we included in the blueprint file.
You can go and check the lifecycle of each case type, but cannot change it.
Assume, at the time of application creation, if you are not interested to build any case type, you can simply select the option “Do not build” from Build action dropdown.
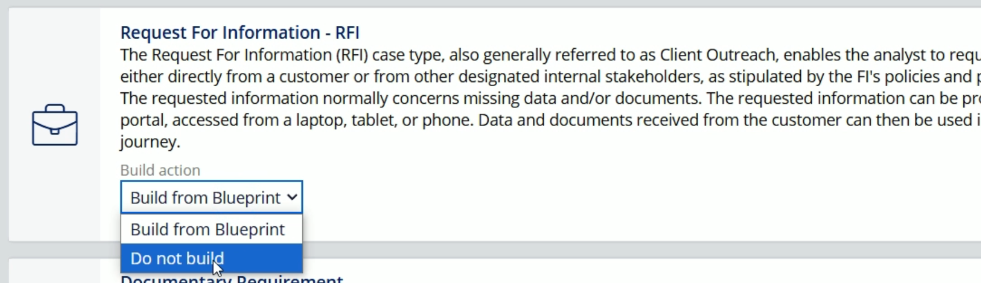
In the same way, I’ll go ahead, and select this option Do not build for all the case type, which I don’t want.
At the moment, I am going with the top 3 case type. And for rest all, I am selecting Do not build option.
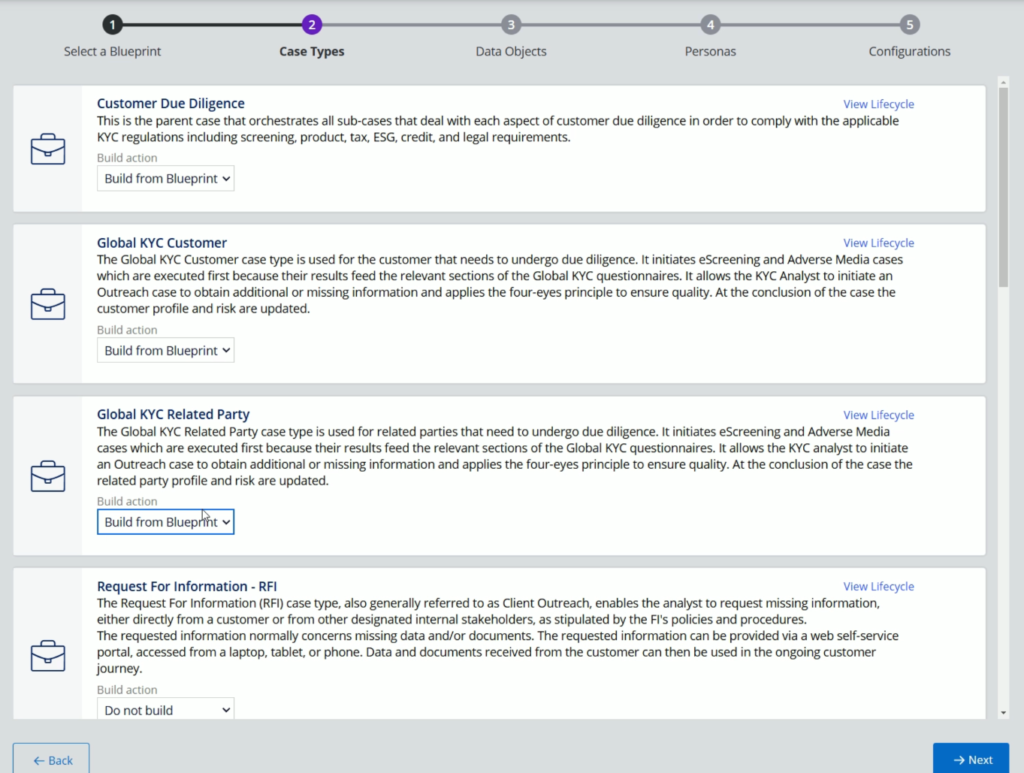
Now, let click Next to visit the Data Objects screen.
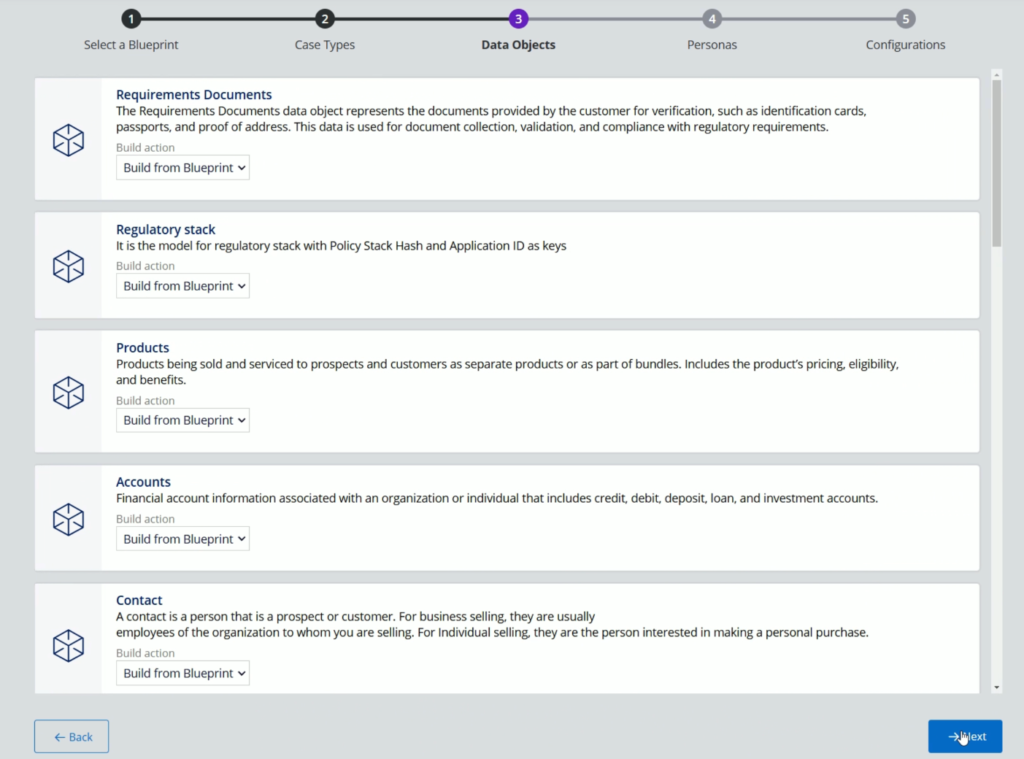
Just like, case type, this screen will show all the data types. And you have option to select the Do not build option if you want to exclude any Data type.
Now click Next. And you will land on the Personas screen.

Here as well, you will review the personas and select the option Do not build if you are not interested in any particular persona.
Lets click Next
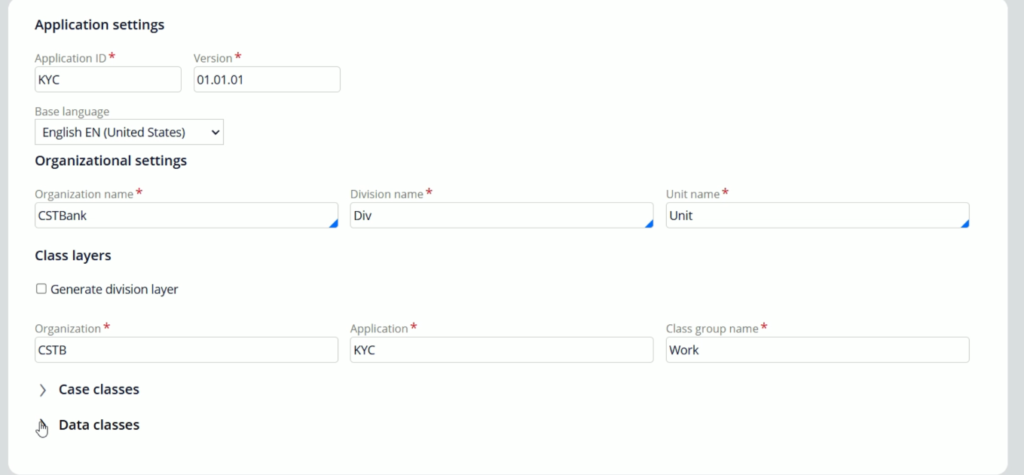
So, finally you will land on the Application Settings, where you will define the Application ID, Origination, Division & Unit. You can enter these names and include/exclude the division and unit layers as per the requirements.
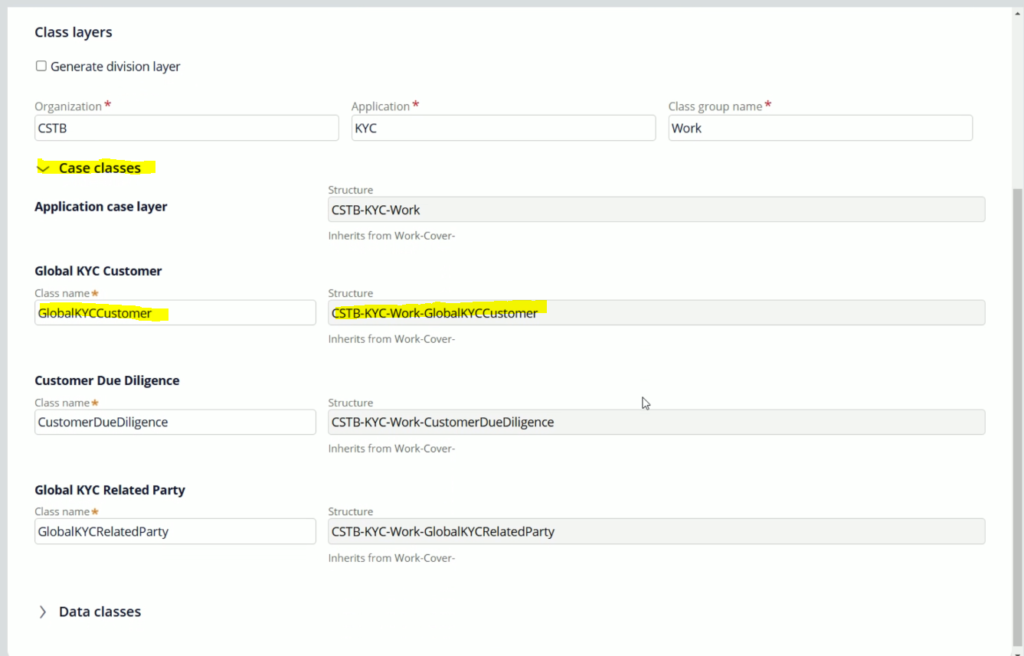
Now, lets expand the Case classes & observe its name. If the name is bigger, you can shorten to avoid the class creation issues.
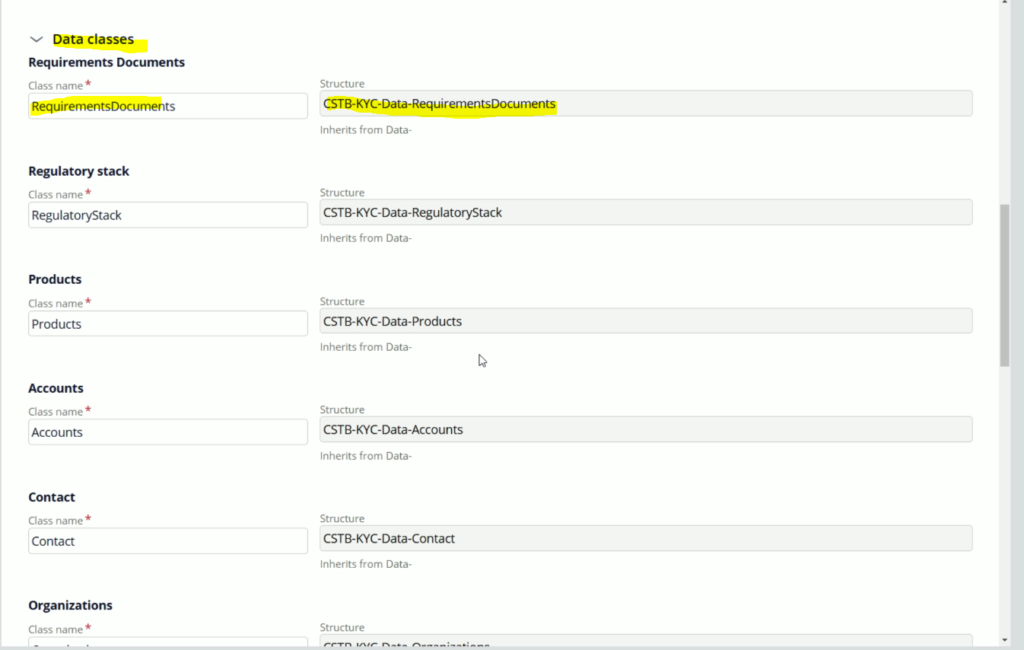
Lest review the same thing for the Data classes.
Now, lets go below and click Submit.
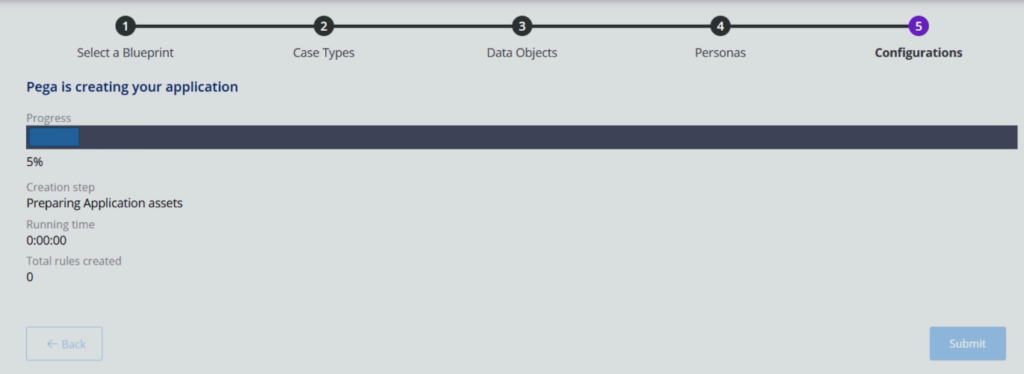
The wizard will start creating the rules. And it will take some time.
In my case, it took around 5 minutes and finally my application is ready.
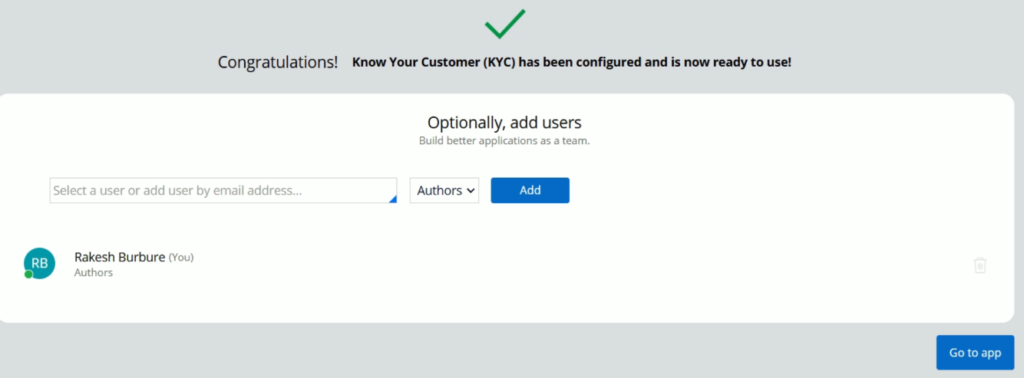
Lets click on Go to app.
And from here you can verify all the changes.
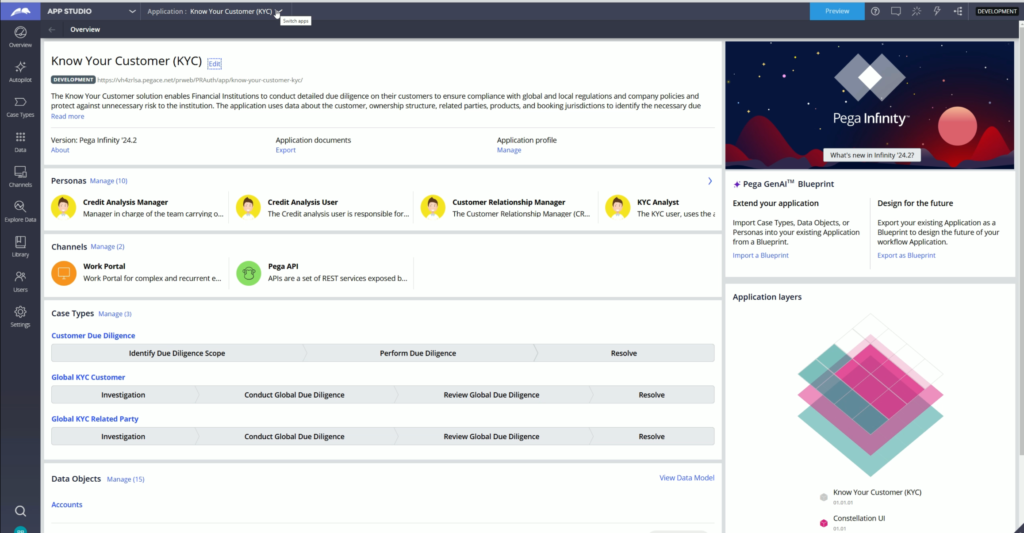
OBSERVATION: When we imported the blueprint file to create an application, it didn’t include the alternate stages to the case type.
So, this is all about creating the application with the help of Pega GenAI Blueprint.
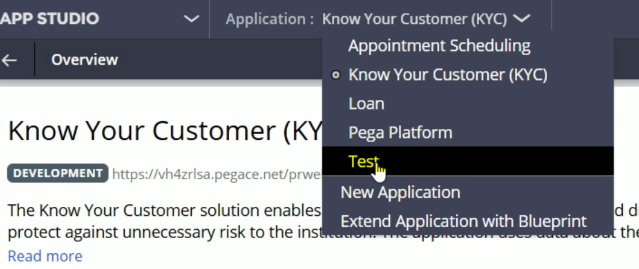
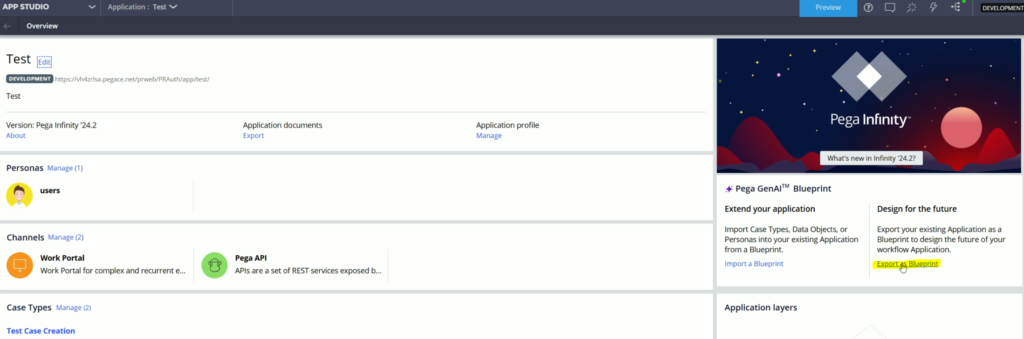
Now, lets assume, you have already created an application and you want its blueprint, then simply, you need to switch to your application and click on the “Export as Blueprint” option. And your blueprint file for that application is ready. Its as simple as that.
Now, lets switch to the Test application.
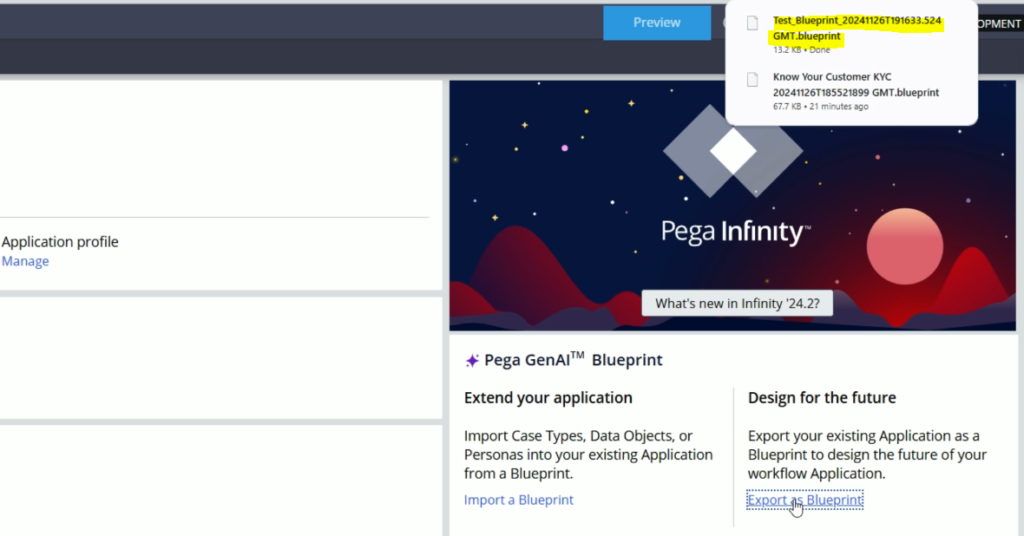
So, once you download this blueprint file, you can share it with others and they can import it to create a new application.